- REVIEWS
Displays Electronics 
Speakers Sources Other Gear Software - HOW TO
How To Buy How To Use Tech 101
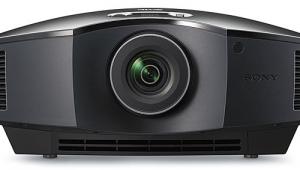
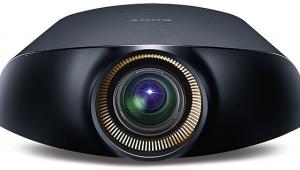
Sony VPL-HW65ES 3D SXRD Projector Review

AT A GLANCE
Plus
Great brightness for the price
Dynamic iris control enhances contrast
Very good 3D performance
Minus
Low Lamp Control setting greatly diminishes brightness
Manual focus, zoom, and lens shift controls
THE VERDICT
Thanks to its dynamic iris, Sony’s 1080p projector beams bright images with great contrast and delivers performance so good that you may not care it’s not 4K.
The last time I had my hands on a Sony product, it was a 4K projector priced at ten grand. That model, the VPL-VW350ES, had many positive attributes (I gave it a Top Pick stamp, after all), along with one weakness: somewhat lackluster contrast compared with that of projectors that provide a dynamic iris control.
Video geeks know that picture contrast can have a dramatic effect on image quality. Sure, the detail boost that 4K provides is nice, but in the grand scheme of things, contrast ends up being an even more important factor. That’s why I was stoked at the prospect of reviewing Sony’s new 1080p VPL-HW65ES, a $3,999 projector that includes a dynamic iris to optimize contrast.
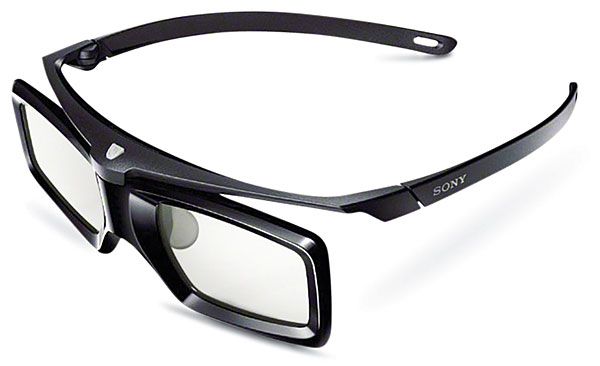
Other features that the new model brings to the table include Advanced Reality Creation, a technology developed for the company’s 4K projector line; it has been repurposed here for 1080p images. There’s also 240-hertz panel drive, which Sony says helps to minimize crosstalk in 3D images. Speaking of 3D, this projector has an integrated RF 3D Sync Transmitter to control Sony’s optional rechargeable glasses, as well as a Dynamic Lamp Control to boost 3D brightness. Fan noise is spec’d at 22 decibels, meaning it should be barely audible when the projector’s lamp control is set to Low mode (something that was indeed the case during my testing).
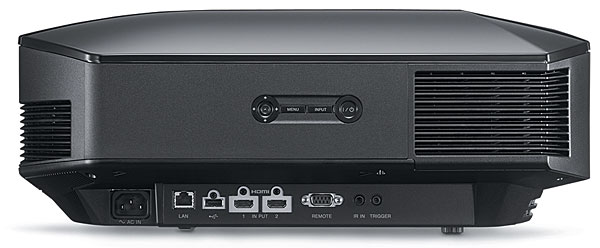
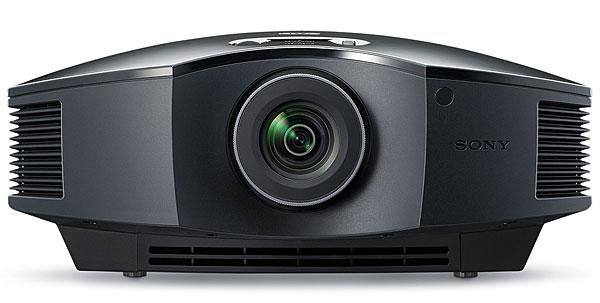
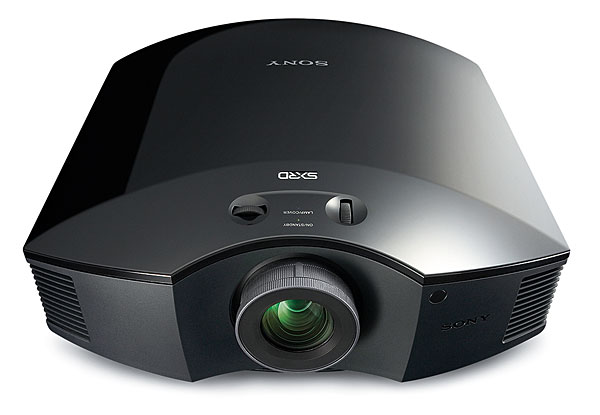
The VPL-HW65ES shares the same curvy, black look of other Sony ES projectors. Its video inputs are limited to a pair of HDMI connectors, and there’s a USB port plus RJ45 and RS232-C jacks for integrating the projector with home control systems.
Sony’s remote control has a fully backlit keypad and large, well-spaced buttons that provide direct access to picture presets and sharpness, brightness, and contrast adjustments, along with gamma correction, contrast enhancement, and Reality Creation settings. As far as projector remotes go, this one does its job well.
Setup
I placed the VPL-HW65ES on a high shelf at the back of my theater room, the center of the lens aligned with the top edge of a 90-inch-diagonal, 1.1-gain Stewart Filmscreen Cima Neve projection screen. Throw distance was 12.5 feet. The projector’s lens has a 1.6x zoom. Manual focus, zoom, and horizontal (± 25 percent) and vertical (± 71 percent) lens shift controls are provided.
Picture presets on the VPL-HW65ES include a pair of Cinema Film modes, along with Bright Cinema and Bright TV—modes intended for lit-room viewing. Most of my pre-calibration viewing was done in Cinema Film 1 mode. Out of the box with only minimal adjustment, the Sony’s image quality was for the most part very good. It had a slightly too-warm (reddish) color cast, and greens in particular looked a bit oversaturated. But on the whole, I found little to complain about. Although most of my viewing was done with the lights dimmed, I was also impressed at how bright and punchy the picture looked in Bright Cinema mode when I turned the lights on, even without a special ambient-light-rejecting screen.
I made my initial picture calibration adjustments in the projector’s User mode, with Gamma Correction set to 2.4 and Color Space to BT.709. Sony provides only low and high RGB sliders in the Custom Color Temperature menu, but getting the projector’s grayscale to track near perfectly using those adjustments proved to be no problem. The color management system settings in the Custom Color Space menu consist of sliders for each primary color that let you set a balance between Cyan-Red and Magenta-Green. Again, dialing in these adjustments during calibration was a quick and easy process; I was able to eventually achieve a virtually spot-on color gamut with significantly more accurate greens.
Experimenting with the projector’s Cinema Black Pro settings is key to getting good picture contrast in whatever environment you choose to set it up in. There are numerous settings you can fuss with, but I found that I got the best balance of picture brightness and shadow/highlight detail in my light-controlled room with the Advanced Iris setting’s Dynamic Control set to Limited and Brightness set to 50. With the Advanced Iris set to Full, highlights tended to be too bright. With that setting enabled, there were times when I actually found myself squinting during well-lit daylight scenes in movies, or scenes with plenty of white in the background.
|
| ||||||||||


| Displays Electronics Speakers | Sources Other Gear Software | Top Picks of the Year Top Picks | Custom Install How To Buy How To Use |
Tech 101
|
Latest News Features Blogs | Resources Subscriptions |
WHERE TECHNOLOGY BECOMES ENTERTAINMENT
 © 2026 Sound&Vision
AVTech Media Americas Inc., USA
All rights reserved

