- REVIEWS
Displays Electronics 
Speakers Sources Other Gear Software - HOW TO
How To Buy How To Use Tech 101
DIY Reader Home Theater: Slager

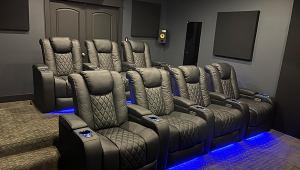
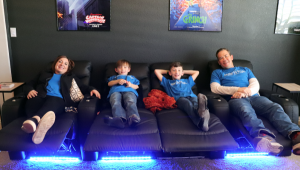
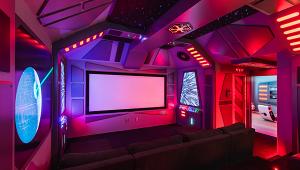
The room we had to work with in our current home was previously a playroom for my kids. Even though it seemed like it would not work for a theater—it was asymmetrical for starters—I was able to make it work with a little imagination and effort. Because of the shape, I wasn't sure I could find furniture that would fit into the room. After shopping for several months, my wife, Carol, and I were able to find a sectional sofa that we could split in half to provide front-row seating with an aisle between the two halves. So that the front-row seating would fit the asymmetrical room, I had to notch out part of the wall on the left side of the room. For the second row of seating, we used two recliners on a 12-inch riser.
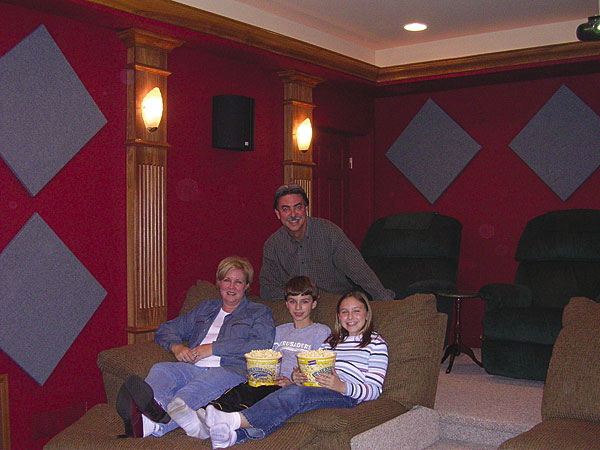
Building this platform turned out to be more difficult than I'd first guessed. Not only was it expensive to construct (see the My Budget sidebar), it was also very heavy. I originally planned to drag the finished platform into the middle of the room and install the carpet on it myself, but it was too heavy to budge! I had to have the carpet professionally installed in the platform's final location.
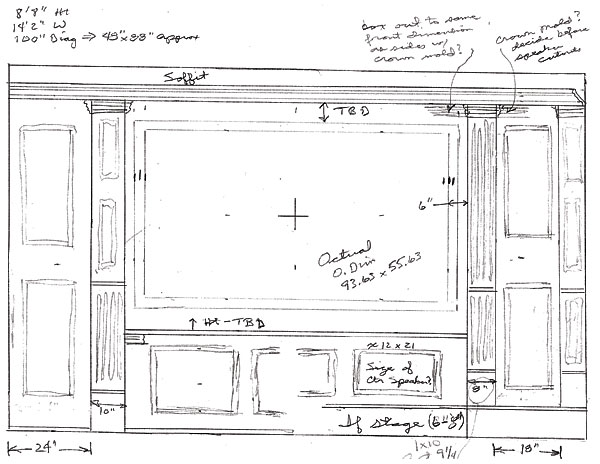
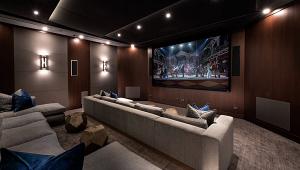
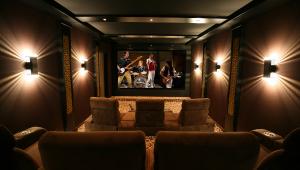
I did the design work for the theater myself during a long flight to Japan, making detailed sketches of everything I wanted and needed to build. Carol and I wanted a traditional appearance. We also wanted to include the same woodwork that we used in the adjoining family room, so I chose to trim the front wall around the screen with stained wood and fluted columns. (See the Building the Front Wall sidebar.)
For aesthetics, I built a 6-inch high stage, with rope lighting under the front edge. I also added fluted columns (three on each side) along the side walls to make the asymmetrical room appear more even and break up the sound, improving acoustics. I mounted the sconce light fixtures on these columns and built a soffit around the ceiling perimeter of the room—not only because I needed a clean way to run wire, but because I wanted to run indirect, dimmable rope lighting behind the crown-molding trim.
With the design under way, it was time to hire an A/V specialist. I researched many companies using the phone book and contacts I'd made at a recent home show. Most of them, however, did not want to work on a project where they couldn't control all aspects of the job. There were three companies I found that were willing to work on such a job, so I met with all three. I was looking for a company that would provide some guidance as I was doing the construction, could provide the A/V components that met my performance objectives at a reasonable price, could perform the integration of the A/V equipment so that I would have a system that was easy to operate, and whose advice I could trust. I wasn't necessarily looking for the cheapest price.

Sound Advice, located in Batavia, Ohio, was my final choice. Co-owner Greg Lang was outstanding to work with and exceeded all of my expectations.I spent time at Sound Advice's showroom discussing my needs and interests. Provided they didn't sacrifice overall quality of the final system, I wanted to make use of some existing components I already had. Other than that, I was completely open to Lang's suggestions.
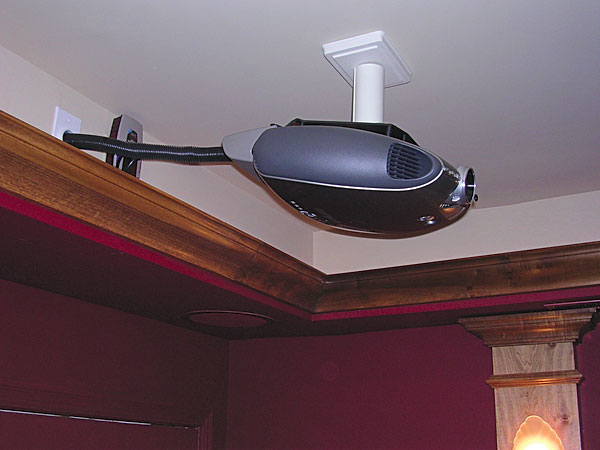
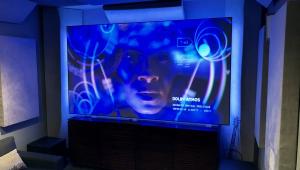
We ended up selecting the Sharp DLP front projector because of its long throw distance, which allowed me to place the projector in the back of the room. It shines on a 100-inch Stewart Firehawk screen. The Denon AVR-2105 receiver provides 7.1 surround sound to my Paradigm Reference Studio 40 LCR speakers and PS Series subwoofer, which I already owned. My son's PS2 provides gaming entertainment, and a remote control operates Lutron dimmers. To make sure that the system was protected, Lang added two Monster surge protectors.
The goal was to have the theater completed in time for the Super Bowl in February 2005. I worked on the project most weekends and was ready for the component integration on February 2, 2005. After only four hours of final wire connections and programming, we were ready to fire up the system. The result was truly impressive. The sound and picture quality are beyond my expectations.
This was definitely a learning experience, but you will never know if you can DIY until you take the plunge. I was able to save a lot of money by doing the construction myself, using borrowed tools and getting the occasional helping hand of a friend. I didn't necessarily feel comfortable designing the A/V section of my system, which is why I hired that portion of the project out. The collaboration worked, and now we are quite pleased with the final outcome and get a lot of enjoyment out of the home theater experience every time we enter the room. Not bad for less than $15,000!
My Budget
Sound Advice Equipment & Labor (Denon Receiver, Denon DVD Player, PSB Dipole Speakers, SpeakerCraft Rear Speakers, Programming and Integration) $2,250
Miscellaneous Gear & Accessories (Cable/Wire/Cat-5, Speaker Cloth, Lutron Lighting Dimmers, Projector Bracket, Monster Surge Protectors) $1,320
Remote $250
Infrared System $250
Sharp Projector $3,000
Stewart Firehawk Screen $1,800
Carpet for Platform $300
Lumber for Platform $300
Carpet for Stage $110
Carpet Installation $250
Electrical Wiring for Sconce Lights, Projector Circuit, A/V Circuit $450
Sconce lights (6), Including Installation $220
Rope Lighting $50
Drywall Soffit $700
Fluted Columns (10) $100
Lumber $1,400
Hardware (Paint, Stain, Nails) $400
GRAND TOTAL $13,150


| Displays Electronics Speakers | Sources Other Gear Software | Top Picks of the Year Top Picks | Custom Install How To Buy How To Use |
Tech 101
|
Latest News Features Blogs | Resources Subscriptions |
WHERE TECHNOLOGY BECOMES ENTERTAINMENT
 © 2025 Sound&Vision
AVTech Media Americas Inc., USA
All rights reserved

