DIY HT on a Budget

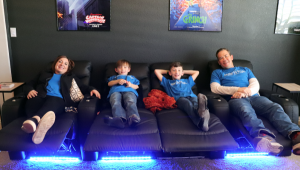
I love to read about the great, inspirational dedicated theaters in the pages of Audio Video Interiors magazine. However, not everyone, including myself, can afford these sometimes expensive theaters. I thought AVI readers might like to see what a determined homeowner could do on a modest budget. We built our theater for the primary users, our three-person family, but we can add extra seating as needed.
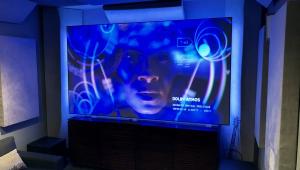
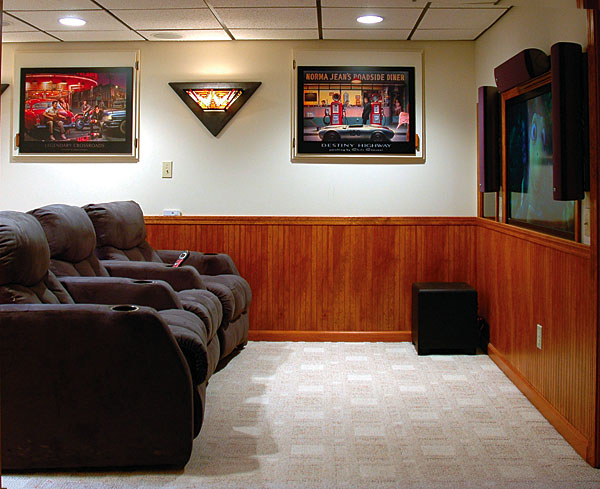
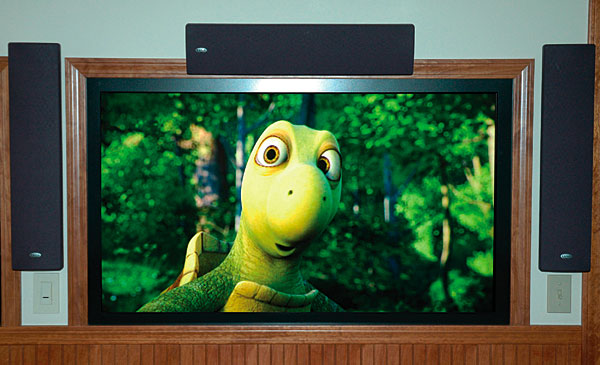
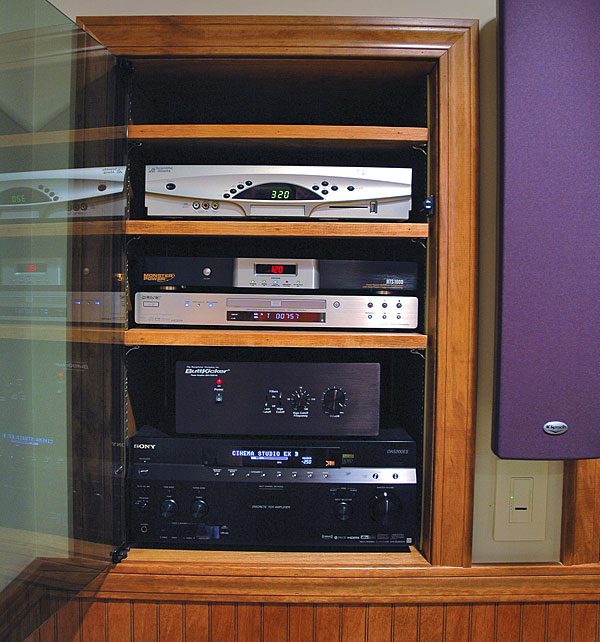
We built our theater at one end of an 11-by-19-foot basement game room. I hired a contractor to help with some of the construction issues, such as those concerning the 52-inch rear-projection JVC HD-ILA TV and the component cabinet, which were built in flush with the front wall. Service access is through an adjacent room.
Three Klipsch Synergy SLX wall-mounted strip speakers handle sound for the front and center channels. They are placed around the display in a typical home theater L/C/R setup, which eliminates first reflections to the seating area. Four Klipsch CDT-3650-C ceiling speakers cover the surround effects, and a Klipsch KSW 12-inch subwoofer handles the bass. The sound in the theater is very dynamic and enveloping. A Sony ES 7.1-channel receiver powers the speakers, while movies play from a Sony DVP-NS975V upconverting DVD/SACD player. There is also an HD cable box for TV.
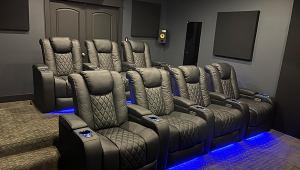
One of the best things we did for our theater was to install a ButtKicker amplifier that powers three ButtKicker LFE bass shakers mounted under the Berkline theater recliners on 0.75-inch plywood panels. You won't believe the ButtKickers' visceral impact; they move and shake your seat along with the action on the screen. The ButtKicker amplifier crowded the component cabinet, so I added a cooling fan on the back panel to keep the temperatures under control.
I replaced the seat legs with finished oak skids so the seats can move back easily to make room for extra seating on three AK Rockers. We can also add a third row of director's chairs for extra guests. When we need the room for other uses, we can move the recliners against the front wall.

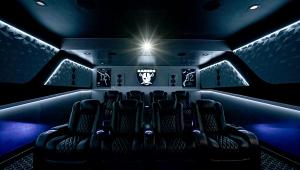
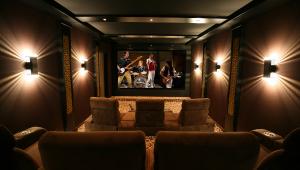
Four Art Deco wall sconces mounted on upholstered plywood panels add an old-school effect to the theater. The addition of lighting control via a Lutron Maestro IR wireless dimmer with an adjustable movie preset makes things even more elegant. To give the theater a polished look, I concealed all the wiring in the walls or ceiling; only the ButtKicker array is plugged into a wall outlet at the end of the seating row. To pull the theater theme together, I installed an Indiana Jones wall poster and two framed Chris Cosani movie posters, which camouflage the access doors to the storage areas.

With the exception of the front-wall carpentry, I did all the work myself, both as a learning experience and to keep costs down. We are really excited about the finished room, and we couldn't be happier that it was a completely DIY project.
Advice from a DIY-er
• My suggestion to the first-time home theater DIY builder would be to draw up a written cost estimate—and then double it. That may still not be enough.
• The ButtKickers are a terrific addition to a home theater at a disproportionately modest cost.

• Don't be afraid to try things yourself. If a component doesn't work well with the rest of your system, you can always take it back to the store as long as it's in the original box and within the store's return policy.
