Mount a TV Like a Pro: Part 1

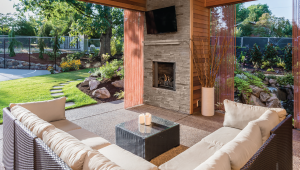
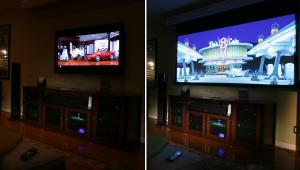
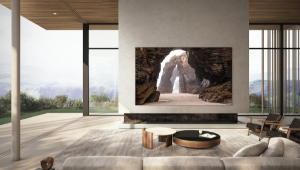
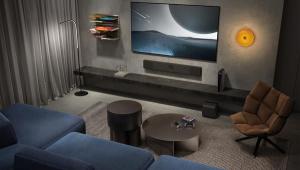
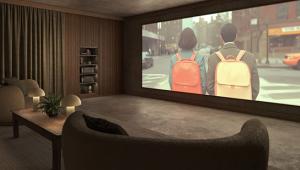
Step 1: Determine Size and Location – If you’ve already got the TV, great; but if not, give some thought to the screen size you want for your room. In my nearly 20 years of being a custom installer, I’ve never once had a customer come back and say they wish they’d gone smaller. No matter how big a screen you get, you’ll quickly get accustomed to the size. And with 4K resolution, you can sit closer to a large screen than ever before. If mounting above a mantel, I’d caution not to get a TV wider than the mantel, as that can look odd. Same when centering the set between something like windows and doorways; leave a bit of space on either side to prevent the wall from looking “crowded.” We generally mount the center of the screen around 5 feet above the floor, as it’s both a comfortable viewing height and looks good when the set is off. However, to get a sense of how the TV will look in your room and find the height that works best for you, look up your TV’s dimensions and then make a cardboard template to place on the wall, or temporarily mark out the TV’s footprint with some painter’s tape. This will let you experiment with sizes and heights without damaging the wall.
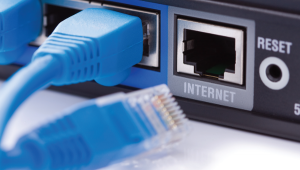
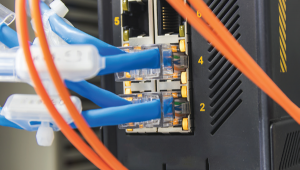
Step 2: Prep Your Parts – Determine what you’ll connect to the TV and what cabling it needs. If it’s part of a home theater system with a receiver as the main hub, a single HDMI cable might be all you’ll need. But if the TV is doing the video switching, pulling an extra HDMI cable to accommodate future expansion is a good idea. It also never hurts to have one or two Cat5/6 wires to the TV; they’re cheap and incredibly versatile. If the TV will be going straight cable — no set-top box — you’ll need some RG6 cabling. As far as length goes, remember that a few feet too long beats an inch too short every day!
Step 3: Plan for Power – Nothing mars a clean flat-panel install worse than a power cord dangling down the wall, and since most rooms won’t have power where you want the TV to go, getting power to the TV will be necessary. Since it’s against the National Electric Code to run a power cord inside the wall, you can either hire an electrician or use something like a PowerBridge and Romex electrical wire to safely — and legally — run power to the new TV. Ideally, you’ll have an existing electrical outlet directly underneath where you want the TV to go, making adding power a fairly simple process. If there are no outlets nearby, you might need to contract with an electrician to add an outlet. PowerBridge comes with the necessary wall boxes for both the TV and electronics’ location, but if you have an electrician install an outlet, you’ll want to get two open-back boxes like Arlington’s LV1 to route cabling inside the wall to the TV.
Step 4: Route the Wiring – Before cutting any holes, it pays to make sure there are no obstacles in the wall. This is where Creep-Zit flexible rods come into play. Remove the outlet cover plate from a nearby electrical outlet and slide the rod upwards into the wall just outside the edge of the electrical box. See how far you can slide the rod up the wall without hitting any resistance to make sure you’re free and clear to run your wiring.
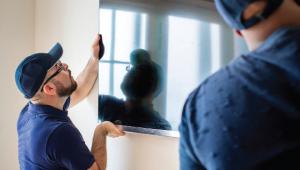
Step 5: Cut and Pull – Use your level to draw a template on the wall of where you’ll cut in the new wall boxes, then cut out the sheetrock for the wall boxes with your drywall jab saw. Now, using either the flexible rod or ball chain and Wet Noodle, run inside the wall from the top box to the bottom box. Tape your wiring onto the rod or chain, and pull it up inside the wall. After the wire is pulled through, install the wall boxes. For a clean, finished look that allows access to your wiring, you’ll need a wire passthrough plate.
Check my next blog for Part 2 of this series.
