- REVIEWS
Displays Electronics 
Speakers Sources Other Gear Software - HOW TO
How To Buy How To Use Tech 101
HTC Vive VR Headset Review, Part 1: Setup
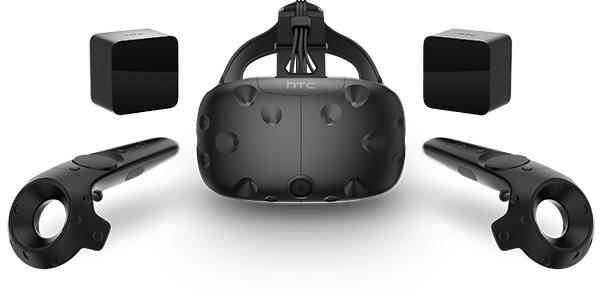
Using laser tracking, the Vive lets you actually move around a virtual space.
I got my hands (and head) on one. Here’s the first part of a multi-part review series.
Pre-Setup
Both the Vive and the Oculus are computer accessories. It’s important to make that clear up front. These are not gaming systems per se as much as they are interfaces for specific games.
As such, there are some specific and rigid requirements to be able to use either. The good news is, if you have a decent gaming computer from the last few years, you probably only need a new video card. My gaming PC is 4 years old and it works fine… but with one important exception: I bought an NVIDIA GTX970-based video card in November.
VR is a GPU-intensive endeavor. Big time. Not only is it higher resolution than you’re probably running right now (2160x1200, or 1080x1200 per eye) but it’s got a higher refresh (90Hz) and other challenges that mean you can’t skimp on the video card. The GTX970 is the minimum you can have and while my rig pulled it off, I can see where some additional horsepower all around would help.
The issue is if the computer can’t keep up with the game and your movements, it lags. That lag easily causes motion sickness. Running correctly, most people won’t feel sick. Laggy? Most people will. I basically never get motion sickness, but playing one specific laggy game with the Vive, and I was queasy (it’s worth noting it was just that game).
So before you run to buy a Vive or Rift, make sure your PC meets or exceeds the minimums.
Setup
The Vive comes in a box the size of a big PC tower. There are many, many cables to link many, many parts. You’ll need to connect:
1) Two laser tracking cubes to power and your PC (or one to the PC and sync them with an included long cable)
2) A connector box to your PC using USB and HDMI, plus to a power outlet
3) The Vive headset to the connector box using USB, HDMI, and analog audio
4) Headphones (not included) to the Vive headset via analog audio
5) A spare outlet or two to recharge the controllers via USB
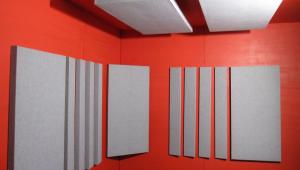
In addition, you need to clear a space that’s a minimum of 5ft by 6.5ft, ideally larger (after all, you want to be able to walk around). You can set it up for sitting/standing, but where’s the fun in that? OK, still fun, but slightly less fun.
All the cables and charger are supplied, but the included documentation is sparse. It’s barely one step better than “Here’s some stuff, do stuff with it.” There are setup videos on the website too.
Thankfully, once you’ve got everything connected, the first step is to download the Vive software, and this does a great job leading you through the rest of the setup.
My biggest issue was trying to swap the HDMI cable between the Vive and my display. As far as I can tell, you can’t do this. My card has DVI and HDMI outputs, so I just put in a DVI-to-HDMI converter plug so I could run my main screen at the same time as the Vive. This worked perfect.
Cable management will be a challenge, but for now everything’s up and running.
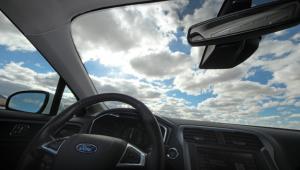
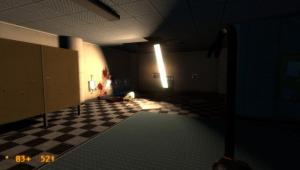
So if you’ll excuse me, I’m going to go play in some virtual worlds for a bit.


| Displays Electronics Speakers | Sources Other Gear Software | Top Picks of the Year Top Picks | Custom Install How To Buy How To Use |
Tech 101
|
Latest News Features Blogs | Resources Subscriptions |
WHERE TECHNOLOGY BECOMES ENTERTAINMENT
 © 2026 Sound&Vision
AVTech Media Americas Inc., USA
All rights reserved

