- REVIEWS
Displays Electronics 
Speakers Sources Other Gear Software - HOW TO
How To Buy How To Use Tech 101
Step By Step: How to Install an IR Repeater Page 2
Many hubs and IR targets support status feedback, which tells you if a component is on (receivers and cable boxes are good candidates). To monitor status, just connect a power supply to a component's switched outlet and plug the other end into the hub's Status In port.
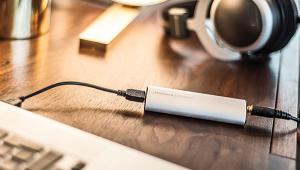
Stick a tiny emitter, which has tape on one side, on the IR receiving window of each component you want to control. Emitters come in single-head (one-component) and dual-head (two-component) designs. (Some components have back-panel minijacks for receiving IR. If yours do, run a minijack-to-minijack cable from the emitter to this input for a cleaner, more reliable installation.) If you have trouble locating the IR window, consult your owner's manual or shine a flashlight onto the front panel and look for something resembling an LED. If you don't want to stick emitters onto every component, a flooding emitter (also known as a blaster) broadcasts signals to multiple components at the same time. This works best when your components are relatively close together.
Now close the cabinet doors and try your remote. If every component responds, install the IR target. Since your gear is now hidden away, you'll want to put the target (most have double-sided tape) on your TV. Before you do, check for interference and make sure it works reliably from your preferred seating position.
|
| |||||||||


| Displays Electronics Speakers | Sources Other Gear Software | Top Picks of the Year Top Picks | Custom Install How To Buy How To Use |
Tech 101
|
Latest News Features Blogs | Resources Subscriptions |
WHERE TECHNOLOGY BECOMES ENTERTAINMENT
 © 2026 Sound&Vision
AVTech Media Americas Inc., USA
All rights reserved

