Toshiba 55WX800U 3D LCD HDTV Page 3

Apart from the inaccurate pre-calibration color, the Toshiba had other issues—issues that calibration cannot cure. Its full-field uniformity was mediocre. Full black fade-outs between scenes and very dark actual images were distinctly lighter in the corners and at the sides, with a few random lightened areas further from the edges. Full white fields (up to a mid-brightness level of about 50 IRE or so) had subtly visible horizontal bars—artifacts of the limited diffusion possible in stylishly thin LCD designs.

These uniformity problems never intruded on 95 percent of the real-world program material I watched. Moderate room lighting masked the uneven black level, and the gray-field nonuniformity largely disappeared at brighter levels, where the increased light output strengthened the backlight diffusion. But both of these problems will bother the fussy viewer—in particular, the black uniformity for those who prefer to do their movie watching in a dark or near-dark room.

Like a number of other new LCD designs, the Toshiba’s screen is extremely reflective. You’ll need to avoid direct reflections from windows or other room lighting. The set’s picture quality also degrades rapidly as you move off axis, either horizontally or vertically. This degradation begins at very small angles, estimated at less than 20 degrees.

Calibration and More
Unlike the 10-point white balance adjustments available on some other sets (such as some LGs), you can’t use the Toshiba’s two- and 10-point adjustments together. That is, you can’t do a two-point calibration and fine-tune the result with the 10-point—a far less tedious procedure than doing a full 10-point calibration from scratch.

I ultimately got respectable results from both the 10-point and two-point options, but the two-point calibration simply looked better—even though the static measurements in 10-point were slightly superior (the 10-point, 100-IRE adjustment stubbornly refused to do anything). I used the two-point calibration for the remainder of the review, including the results shown in HT Labs Measures. Your calibrator’s mileage with the 10-point option may vary.

The RGB Filter settings, designed to help you optimize the set’s color decoding, indicated that no setting of the Color and Tint controls were optimum. In fairness, the result shows the accuracy of the set’s color decoding, and it was no worse than with most sets we’ve tested.

Out of the box, the Toshiba’s color gamut had serious issues. Red was undersaturated, and green and blue were oversaturated. Moreover, the reds were significantly brighter than optimum, and the greens weren’t as bright as they should be. (Color saturation and brightness are different parameters; the latter is the invisible third dimension on the two-dimensional CIE chart.)

The Toshiba’s color management system—ColorMaster—corrected some of these color gamut issues, but not all of them. For example, I could correct the too-bright reds, but I couldn’t do anything to increase their saturation. Nor could I correct the blue point. The partial corrections I could make looked worse than no corrections at all, so in the end, I left ColorMaster off and stuck with the compromised factory color gamut.

Opinions differ on the optimum playback gamma, but they generally agree on settings somewhere between 2.2 and 2.5. (A display’s gamma determines how its output brightness responds to the level of the source in the range between black and peak white.) The gamma value should also stay relatively constant across the brightness range. At the default position of the Static Gamma control (zero), the Toshiba’s gamma started at a reasonable value at low brightness levels (about 2.0) but dropped relentlessly at every step in the brightness range until it reached approximately 1.0 at the bright end (90 IRE). This results in a midbrightness region that is too bright (the lower the gamma number, the brighter the image at the measured level).

I decreased the Static Gamma setting to its minimum (–15). This increased the measured maximum gamma numbers slightly, but the shape of the gamma curve remained roughly the same, with the same excessive output in the mid-brightness region. When I decreased the Static Gamma control too much, it produced a picture that looked muddled at the dark end. The zero setting worked best for me, even though it was far from optimum. It did not result in a washed-out picture, but it produced an unpleasant glare on bright highlights. To correct for this, I reduced the Backlight control.

Despite its many problems, the Toshiba, when set up as close to correct as possible, produced a picture far better than you might expect. We’ve seen and measured better blacks, but the Toshiba’s image offered at least respectable contrast and snap. Despite the skewed color, fleshtones on reliable source material were always at least believable, as was green foliage. There are plenty of both in the superb new Blu-ray release of The Bridge on the River Kwai, and the color here almost never looked wrong.

It takes a more crisply photographed modern film than Kwai to demonstrate the Toshiba’s outstanding resolution. But when I watched Seven Years in Tibet, Baraka, Beauty and the Beast, or even Blu-ray episodes of the TV series Fringe, every pixel was in place. I even experienced a believable sense of depth with good 2D material.

Picture This: 3D
The Toshiba has the usual 3D controls (and the usual 3D warnings, both in the manual and with annoying onscreen pop-up messages). You can manually select the most common 3D modes, but in its default mode, the set should switch to the proper 3D mode automatically. There is no 2D-to-3D conversion mode.

I used two Blu-ray players: Toshiba’s own BDX3000 and a Panasonic DMP-BDT350. The set does not come with 3D glasses, which are optional (regular glasses are just $34.50, and nViDiA glasses are $150 per pair). Toshiba’s 3D glasses are about average in comfort, which is to say they’re tolerable.

I immediately noticed that when the Toshiba switches into 3D mode, it doesn’t provide a separate 3D adjustment menu. You can manually readjust the controls, which is what I did. I increased the Backlight to maximum and the Contrast to 60 to compensate for the loss of brightness typical of 3D. But when you switch back to 2D, you have to manually change the controls back to your preferred 2D settings.

Without a 2D-to-3D mode and given our current lack of 3D test patterns, I couldn’t perform a separate calibration for 3D to compensate for the inevitable color shift that 3D glasses produce. But that shift didn’t commit any obvious assaults on the Toshiba’s color.

The depth was identical to what we’ve experienced with other 3D sets. There was some noticeable ghosting, but it appeared to be source dependent and didn’t unduly annoy me—but some viewers may be more sensitive to it. Other than the basic performance issues I’ve already noted, which will affect both 2D and 3D, I had no complaints—apart from my umpteenth viewing of Cloudy With a Chance of Meatballs, Coraline, and Monsters vs. Aliens. Help—we need more variety on our 3D source material, including live action, stat. I just heard that Step Up 3D is coming to Blu-ray Disc soon. Be still my heart.

Conclusions
My feelings about the Toshiba 55WX800U HDTV are decidedly mixed. I can’t deny that it can produce a subjectively enjoyable picture, but it takes a bit of setup juggling to get there.

The set deviates from accepted parameters in a number of ways and will not accurately reproduce a source produced to today’s video standards. That’s a problem for me and probably for many of you as well. But I suspect that the average user would enjoy the picture too much to worry about issues like precise gamma and color.

COMPANY INFO
Toshiba
(800) TOSHIBA
ARTICLE CONTENTS

COMMENTS
McMinnDSC's picture

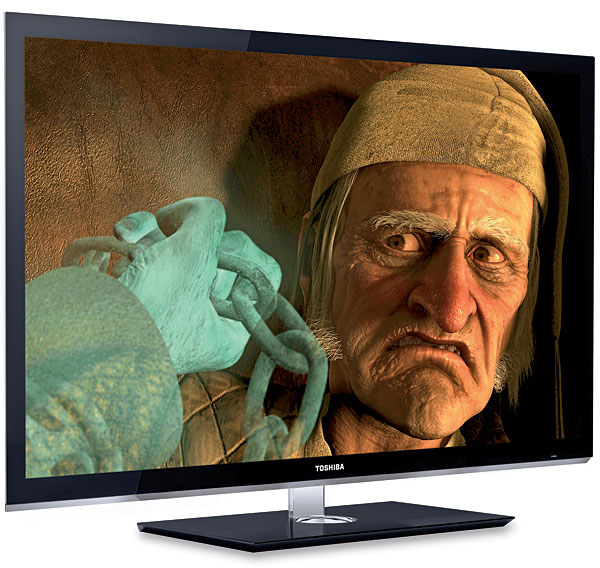
I'd really like to know the suggested best settings for if you DO want that "Live" look. I'd just like to flip back and forth from a film look to a live look. Pixar things look amazing in that live look. I call it soap opera effect cause it makes everything look like days of our lives.

I've just been going with these same settings and turning the ClearFrame 240 on, and Film Stabilization to high (as he describes on page two as causing the live effect) but I just wasn't sure if there were any other or better settings to achieve the best "like look" or if the author was just mentioning setting Film Stabilization to High as a "don't do this" kind of thing.

X