- REVIEWS
Displays Electronics 
Speakers Sources Other Gear Software - HOW TO
How To Buy How To Use Tech 101
HT's HTPC, Part IV
Well, all the parts are in, and it's time to build the beast. If you missed it, check out last month's GearWorks for all the doodahs and pieces for this all-new HTPC. If you're using this as a guide on how to build your own HTPC, let me give a few tips to start.
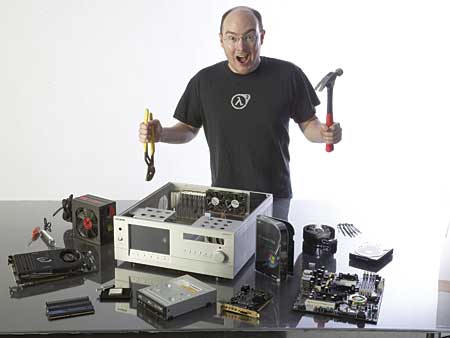
Don't trust this man with tools.
Right Tools for the Right Job
Make sure you have everything you need before you start, and, unless you want to make this an epic, build the PC while the stores are open. You'll probably forget something and need to go out to buy it. If this is your first PC build, don't panic. It's a lot easier than you think. Hopefully, you have already bought a toolkit with small tools and some Arctic Silver thermal grease. If you haven't, go out and get them. I'll wait.
Static Is Bad, Mmm-Kay
Get all your parts organized on some kind of static-free surface. Most tables are probably fine, but carpet is almost certainly bad. For the first part of the installation, just mount; don't worry about wiring anything up just yet. Ground yourself before you pick up any new part. It's better to do this too much than too little. Most importantly, don't touch anything. As in, don't touch anything copper, or the top of your processor, or the bottom of your heat sink, or. . .well, you get the idea. The oils in your skin can screw up cooling and other things. Touch things only on their sides.
If you see any potential fitting issues with your case, feel free to mess with my order. Measure twice, sand down a video card once (trust me).
Start with your motherboard. Figure out which way it goes into your case. With any luck, it will line up over some posts so you can secure it with the tiny screws it came with. Do so. This thing doesn't have to survive a hurricane (it wouldn't, regardless, duh), so tight doesn't have to mean tight.
I tend to put the hard drive in at this point. The order of placement doesn't matter a ton. Many cases come with little runners that attach to the sides of the hard drive to ease in installation and removal. These should be pretty self-explanatory. This one came with clever rubber grommets to isolate the hard drives from the case. If you have one drive and a choice of where to mount it, I would recommend that you mount it in the middle, if possible. In other words, you want to give the hard drive breathing room, so don't mount it against other parts if you can avoid it. If you're installing multiple drives, mount them away from one another. You can always move them later. The disc drive will go in more or less the same way.
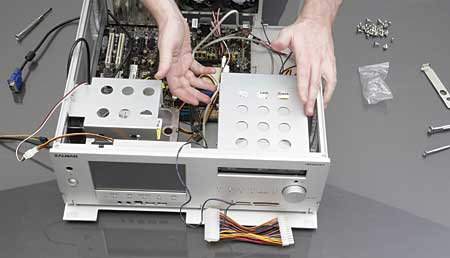
The power supply, being the bulkiest part, should probably go in next. The only reason I don't put it in first is that power supplies typically have lots of wires coming out the back, and these can get in the way.
Now come the more delicate parts. Check your owner's manual as to how it wants you to install the RAM. Even though RAM comes in pairs, that doesn't mean they go next to each other. For this and the card installation, I can best describe what you need to do as "delicately forceful." You have to apply pressure to get the cards and such seated properly, but, if you force them, you could do all sorts of bad. Make sure they're facing the correct way, and make sure you're pushing in an even, level fashion. RAM pretty much snaps and locks into place. Video and sound cards are a little harder to tell. If you can see any copper pins, chances are, it's not seated fully.
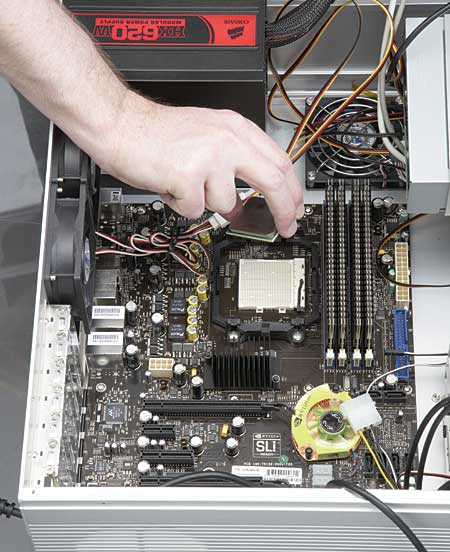
If you're not sure and it really doesn't feel like it could go in any further, leave it. We'll find out later if it's OK. After you get the video and sound cards in place, find your processor. These only go in one way. Figure this out before you start jabbing it in randomly. Bend one of those little pins, and you now have an expensive—and really crappy—paperweight. As you can see in the pictures, I switched two of these steps, as I saw some case/card-specific fitting issues that I had to deal with.
Once you have the processor installed, whip out your Arctic Silver paste and a credit card. If the tube you bought didn't come with instructions, there are some at www.arcticsilver.com. This is probably the trickiest and most important part of your computer build. Don't panic. You can go back and fix it if you don't do it right, and it's doubtful that you'll do any damage to your processor in the short term if you do mess up.
Once your heat sink is in place, you can start running the wires. If you're using all new parts, chances are they're SATA (or Serial ATA or Serial Advanced Technology Attachment). One each for your hard and disc drives. You should hook up whatever fans your case has at this point. Again, you'll have to check the manuals as to what and where. Each case and motherboard has different connectors for buttons, lights, fans, and such. I can't help you with that. My case had lots of these (thanks to the screen, buttons, and built-in card readers).
Once you've done all that, you can run the power cables. The big one is for your motherboard. Depending on your video card, it may need one or two itself. Hard drives need one, as well.
At this point, you're pretty much ready to fire it up. Check all your connections one more time, press the power button, and see what happens.
BIOS
The lovely DOS-looking screen will prompt you to go to your BIOS. This is essentially the operating system for the motherboard. Most choices here are set for auto, and, unless something is wrong or you know what you're doing, you should probably leave them this way. Check and make sure that the system sees your hard and disc drives and that your processor is running at the correct speed. Put the Vista DVD into the drive, save, and exit.
As scary as it sounds, follow the steps as Microsoft tells you. It took me 45 minutes to completely install Vista on an unformatted hard drive. You're not really done at this point. You'll still need to download or install drivers for the video card, the sound card, and various other bits. You're better off downloading new drivers than using what came in the box, as the ones from the Website are bound to be newer and better. If you can't access the Internet, then go for whatever came in the box.
From start to finish, this entire build will probably take you several hours, more if you haven't done it before.
Goings On
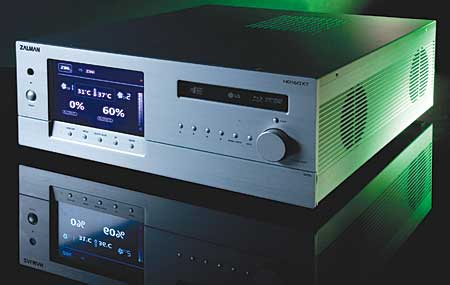
As with most things I've built, I was stunned to find that it worked when I turned it on. It sounded like a leaf blower. After a bit of tweaking with the included software, I managed to dial the internal fans back down. Even running a game in a hot room, Keping the fans at 60 percent prevented the internals from getting too hot. It's not as quiet as the WoodPC (of course), but it's pretty average for an HTPC. Given the power under the hood, that's pretty good. If you run an HD disc, you'll hear it during the quiet passages, but it's thankfully pretty solid white noise. There are no frequencies that stand out (like buzzes, hums, or whines). You could probably get it a touch quieter with further dialing in (or a quieter, but slower, passively cooled video card). The fan on the motherboard isn't loud, but a passively cooled motherboard would help. My only concerns are the fact that the video card completely blocks the motherboard's fan and that the video card doesn't have a lot of access to fresh air, thanks to the sound card. So far, it hasn't been a problem.
Blu-ray and HD DVD worked and looked fantastic. As a testament to the processing power, I could watch a BD or HD DVD in a window on the desktop and resize it on the fly while it was playing. Every current game ran silky smooth with all the video extras maxed.
Don't upgrade to Vista. XP buried all advanced functioned deep in the menus. Vista just hides them almost completely. For neophytes, this is perhaps OK, but, for everyone else, it is just plain annoying. Just as they've been doing for over 20 years, Microsoft has created a harder-to-use version of a Mac OS. That said, it's pretty—and pretty stable.
The only reason to get Vista is to get DirectX10 (which is a lame way to force an OS upgrade). Fittingly, the first games that require DX10/Vista are Microsoft games. You can read reviews of them at www.HTGamer.com. I thought I'd have more space this month to talk about DX10, but that will have to wait for the next installment, which will be about software and add-ons. Look for it comin up in the November issue.
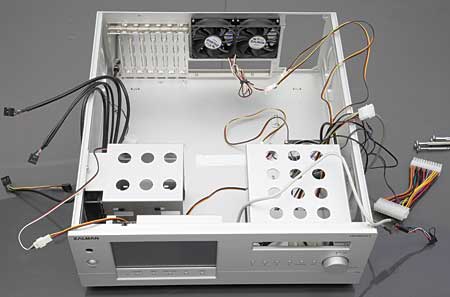
All those wires, that's just what comes with the case.
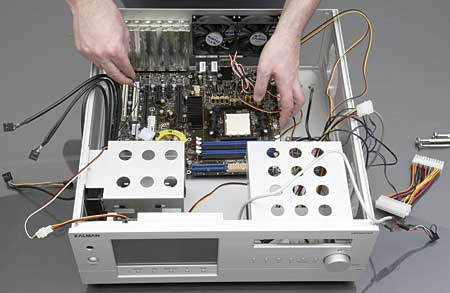
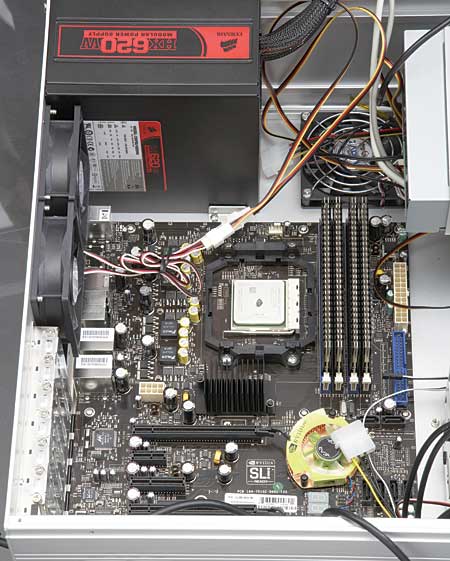
Motherboard
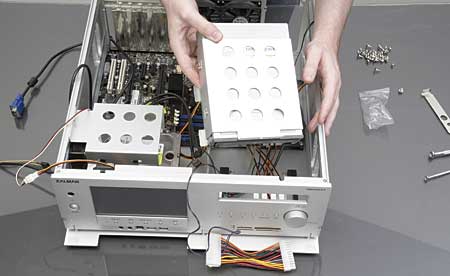
In goes the disc drive in its own caddy.
It slides into place, secured by one screw.

Power supply. As you can see, it's backwards. I be a genius!
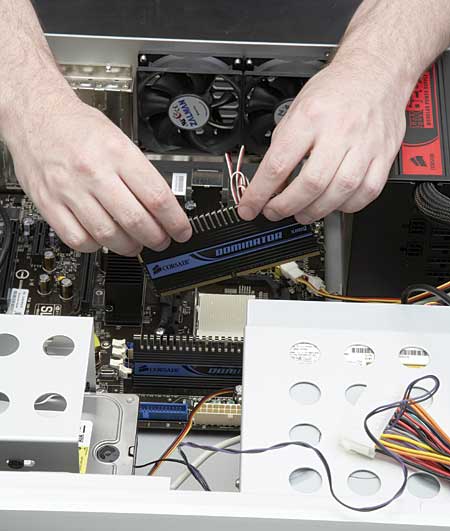
RAM is good. It's also easy to install.
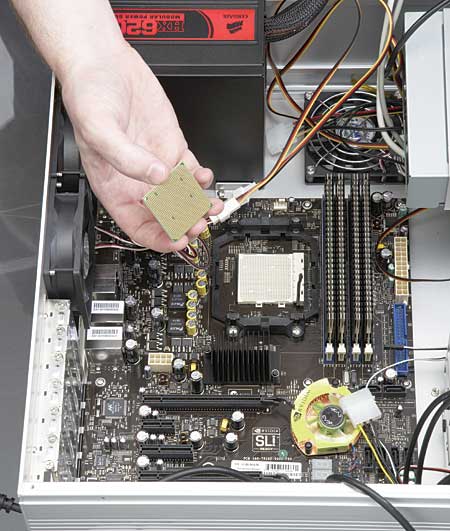
The bottom coppery pin part of the processor. Touch only on the sides.
Don't drop it, butterfingers.
Ahhh, all secured.
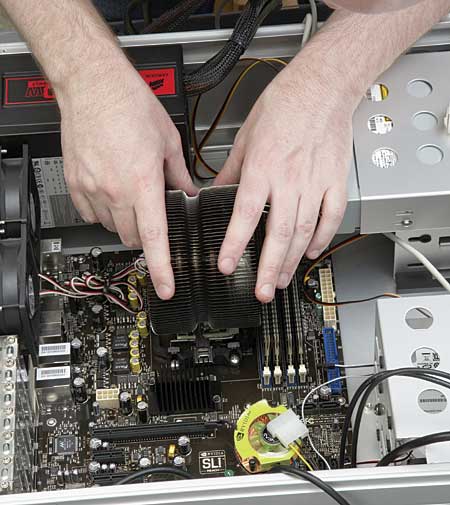
A greased-up heat sink goes in next.
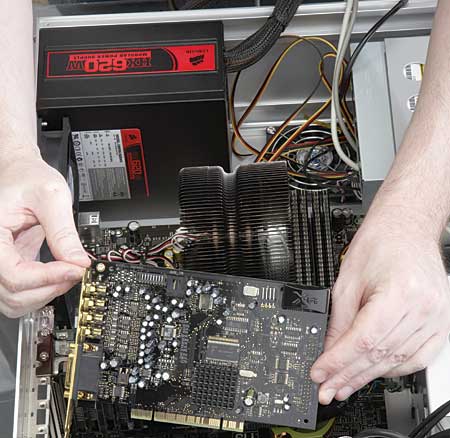
Lastly, in go the sound and video cards.
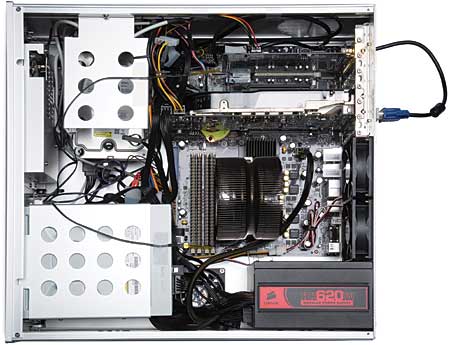
Wire management isn't fun or easy, but it's vital for good air flow in the case. The case temperature dropped an average of 3 degrees Celcius when I cleaned up the wires.
Fin. Now time for fun.


| Displays Electronics Speakers | Sources Other Gear Software | Top Picks of the Year Top Picks | Custom Install How To Buy How To Use |
Tech 101
|
Latest News Features Blogs | Resources Subscriptions |
WHERE TECHNOLOGY BECOMES ENTERTAINMENT
 © 2025 Sound&Vision
AVTech Media Americas Inc., USA
All rights reserved

