- REVIEWS
Displays Electronics 
Speakers Sources Other Gear Software - HOW TO
How To Buy How To Use Tech 101
Getting to Know Your Surround Receiver
Don't freak out: You are smart enough to get through this. It may require perseverance but you needn't be a rocket scientist.
Put it in the right place: Your receiver contains a five- to seven-channel amplifier which requires ventilation. Don't put other components on top of it. Make sure it has at least two inches of clearance.
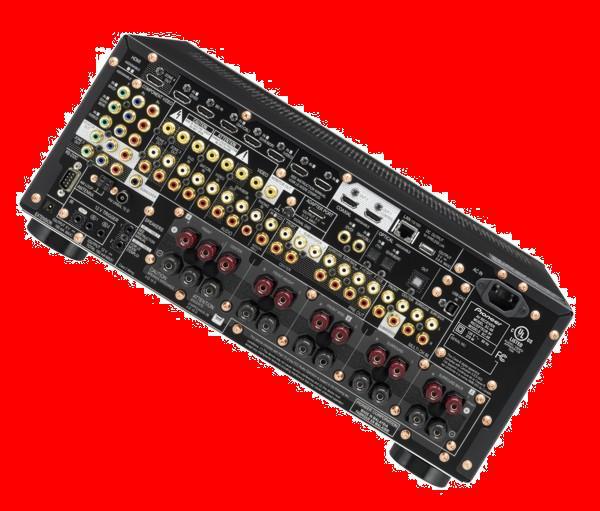
Cabling: I'm going to oversimplify this: Speaker cables, then HDMI, then everything else. Where HDMI is not available, use the digital coaxial or optical inputs; and where they are not available, use the stereo analog inputs.
What to expect at the first turn-on: If the receiver asks you to connect a microphone, do so, and allow it to run its auto setup program. This process will set speaker types, distances, and other parameters. It will also include room correction, which may improve the sound—whether it actually does so is something you'll evaluate and deal with later.
First glance at the remote: The remote is designed to operate several components, and some buttons operate differently in different modes. There should be a button labeled Receiver or Rec that will make the remote accept receiver-related commands. Your receiver may operate with remote apps for iOS or Android devices in addition to the familiar infrared remote. Use them if they make you more comfortable.
First glance at the graphic user interface: Find the remote button that activates the main control menu. Actually, this is the step that sends me to the manual most often. It may be labeled Setup, OSD, Home Menu, or none of the above. Take a few moments to look at the main menu and step through the options (there may be a Return button to help you step back). Don't worry if you don't comprehend everything at first.
Check source components: If a source component does not output audio, go into the receiver's main menu, then the Input menu, and switch to HDMI, Optical, Coaxial, or Analog modes as needed. Where there is an Auto mode, that is often the best choice. If that doesn't solve the problem, look in the source component's menu to make sure it is outputting the right kind of signal.
Listening à la modes: Fed by your Blu-ray player, your receiver will automatically select DTS-HD Master Audio, Dolby TrueHD, Dolby Digital, DTS, or whatever other soundtrack you select in the disc menu. To prevent it from adding an overlay of needless digital enhancement, choose the Auto Surround mode (it may be called something else). Stereo sources may be played in the original two channels, or 2.1 (with subwoofer reinforcement), or 5.1 (the best choice here is Dolby Pro Logic II). Disregard all junk modes with names like Hall and Club.
Low-volume listening modes: If you constantly find yourself raising or lowering volume to account for the dynamic extremes of movie soundtracks, your receiver may have a mode that brings the soft and loud moments into a more palatable balance. It will be labeled Audyssey Dynamic EQ/Volume, Dolby Volume, or THX Loudness Plus.
The pure analog option: If you're fussy about the sound from your turntable or USB DAC, you may want to select the Pure or Pure Analog mode from the remote. It will usually disable the room correction, allowing easy A/B comparisons. It may also disable the subwoofer, a possible disadvantage if your small speakers need the sub for bass reinforcement.
Defeating room correction: To defeat room correction with digital multichannel sources, you'll have to find the relevant button on the remote (if there is one) or go into the main menu (more likely). The room correction off setting may be buried deep, requiring a close reading of the manual. But it's worth the trouble. Once you've evaluated your receiver's room correction, you'll be able to leave it permanently on or off. Some receivers allow for multiple room correction presets, each with its own settings. In that case you can defeat room correction by choosing a preset that has no settings associated with it.
As I said above, this is not meant to be a complete guide, but I hope it will anticipate common problems. If you would like to nominate a receiver-related topic for future exploration, please leave your suggestions below.


| Displays Electronics Speakers | Sources Other Gear Software | Top Picks of the Year Top Picks | Custom Install How To Buy How To Use |
Tech 101
|
Latest News Features Blogs | Resources Subscriptions |
WHERE TECHNOLOGY BECOMES ENTERTAINMENT
 © 2026 Sound&Vision
AVTech Media Americas Inc., USA
All rights reserved

