- REVIEWS
Displays Electronics 
Speakers Sources Other Gear Software - HOW TO
How To Buy How To Use Tech 101
Ultimate Ears: An Inside Look at the Making of In-Ear Monitors

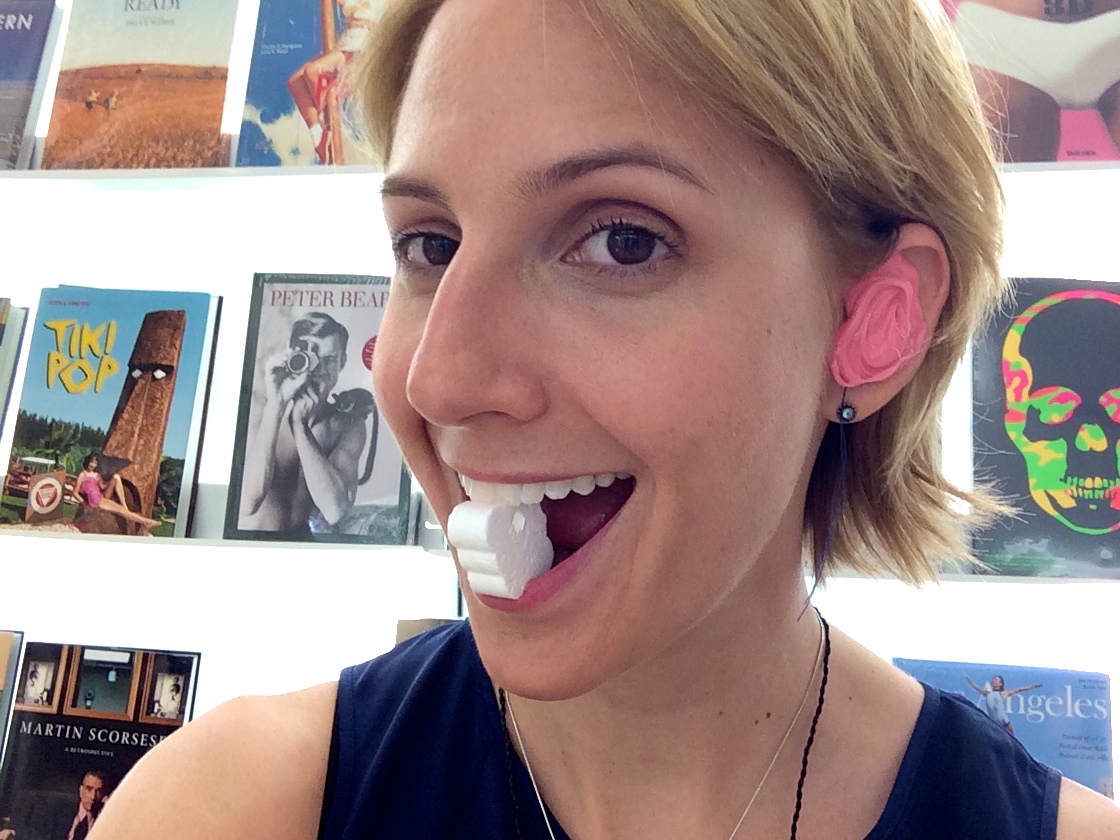
First, UE need to know your ear shape. So when you purchase your monitors, you are sent to an Ultimate Ears certified audiologist who takes impressions of your ear canal. It’s not painful, but it does feel totally bizarre. A piece of foam or cotton is stuck deep into your ear to protect your eardrum, and then a goo is injected with a syringe into your ear canal. You sit with a piece of foam in your mouth to keep the inner ear open, and wait. Ten minutes later, the shape has hardened, and boom. You have a perfect impression of your ear.
This impression form is used to create a mold, which the folks at UE keep on hand, just in case anything happens to the original injection impression. That way you won’t need to get ear-gooed again.
Now. Let’s talk about the traditional way of doing things, before the 3D process came into play. In fact, if you order Ultimate Ears that have sparkles, swirls, or custom colors, this is still how it’s done.
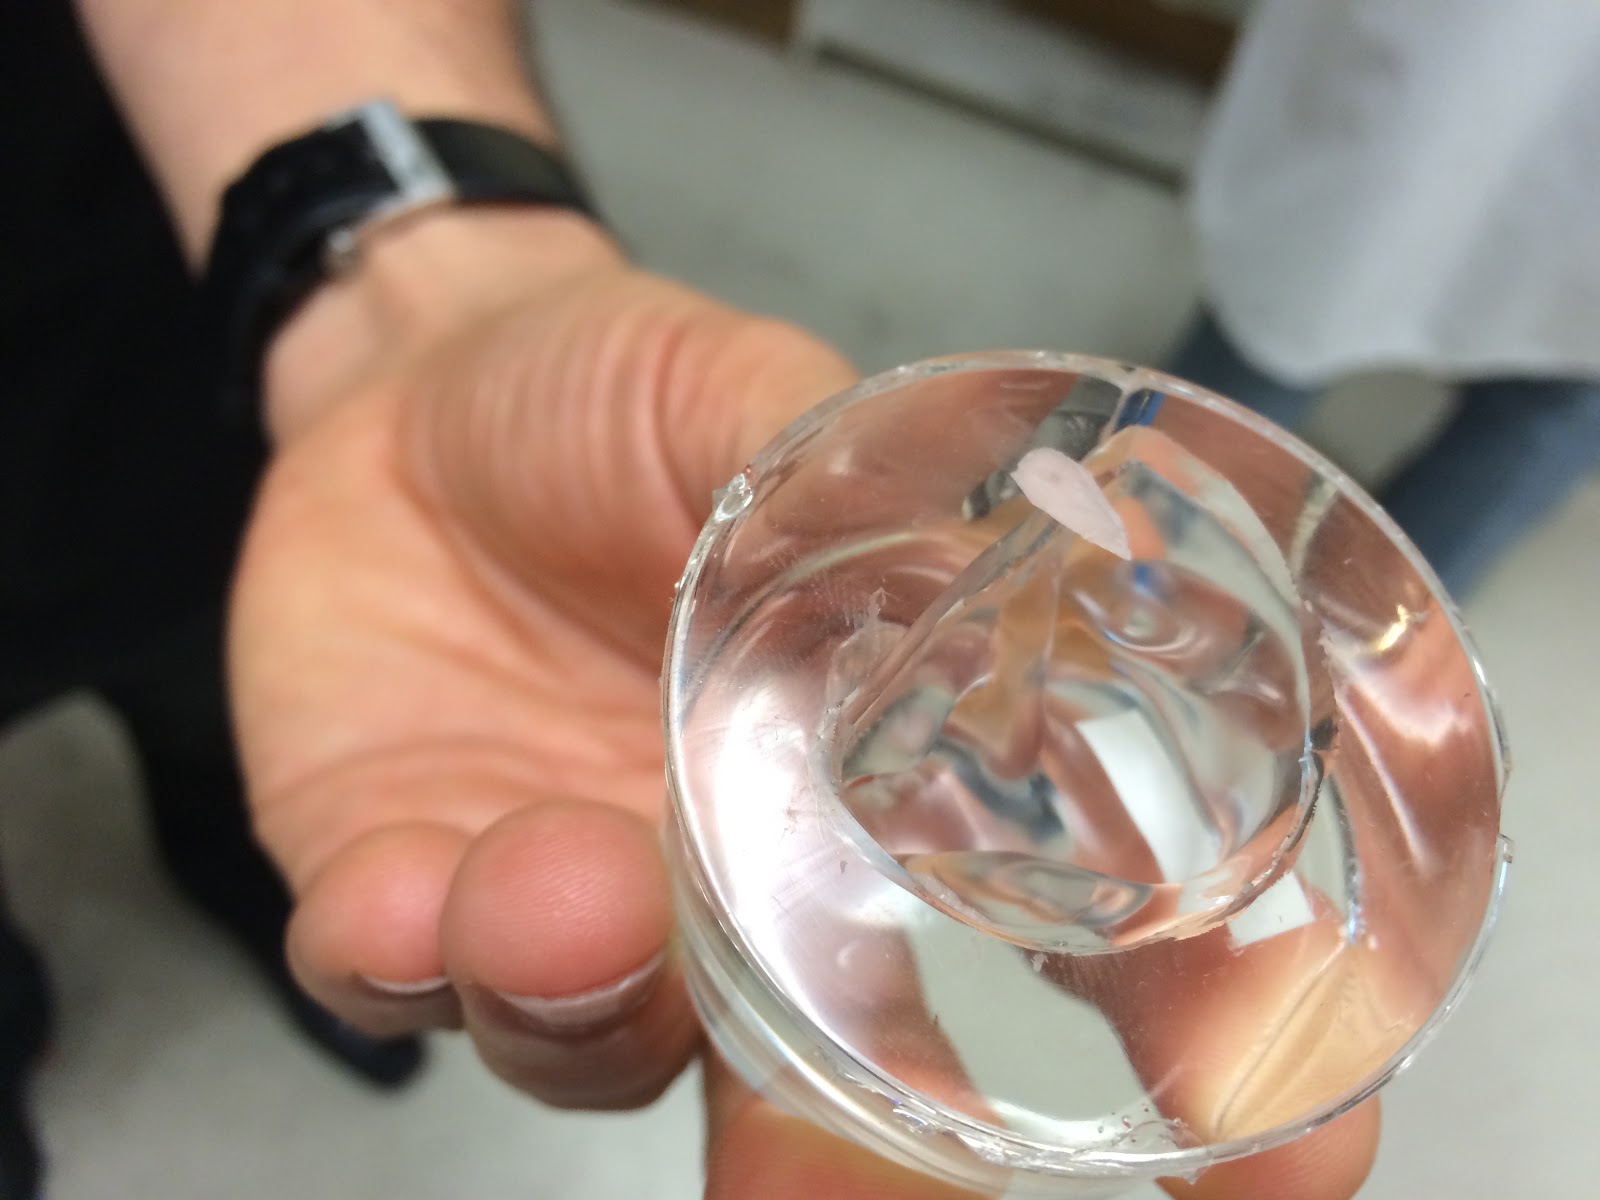
So, that clear mold of your ear impression you saw earlier is used to make another form. This form is what the techs at UE will shape into the final monitor mold. So rough edges are smoothed, excess material is removed, and adjustments are made to the shape that will ease placement into your ear. This is all done by hand, with a little dremel tool.
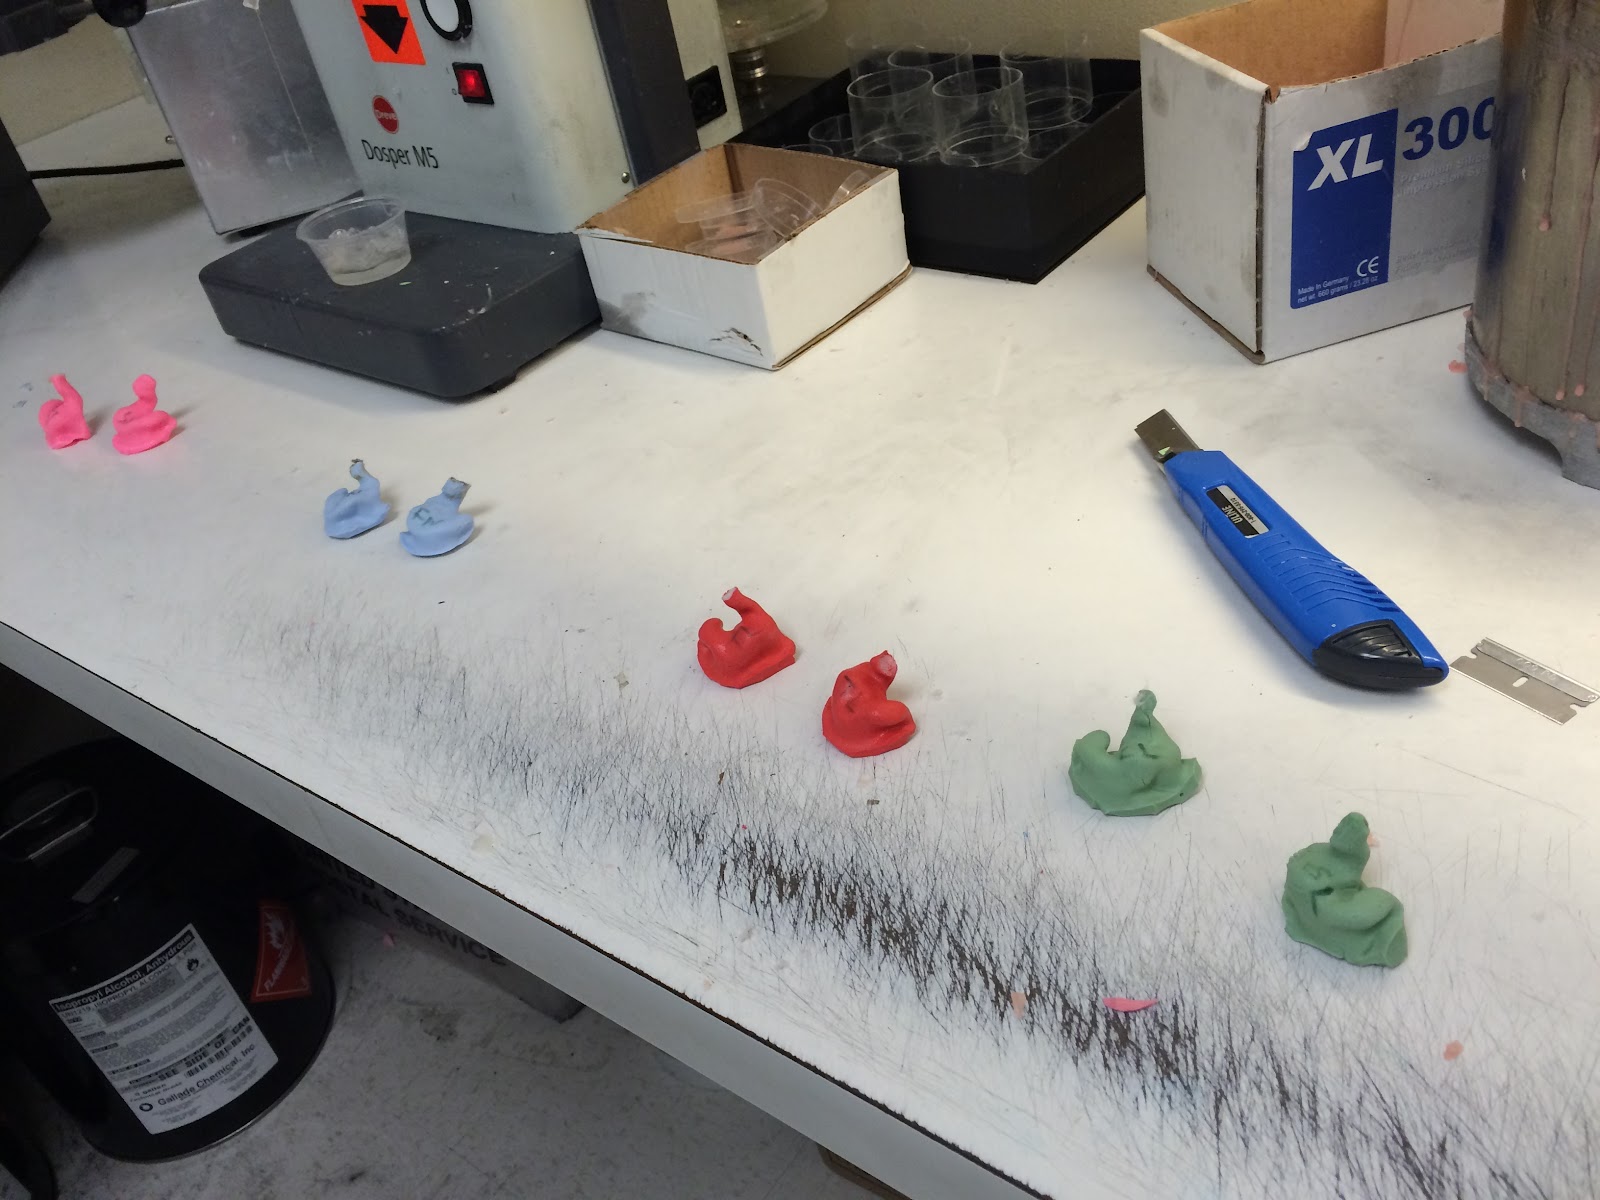
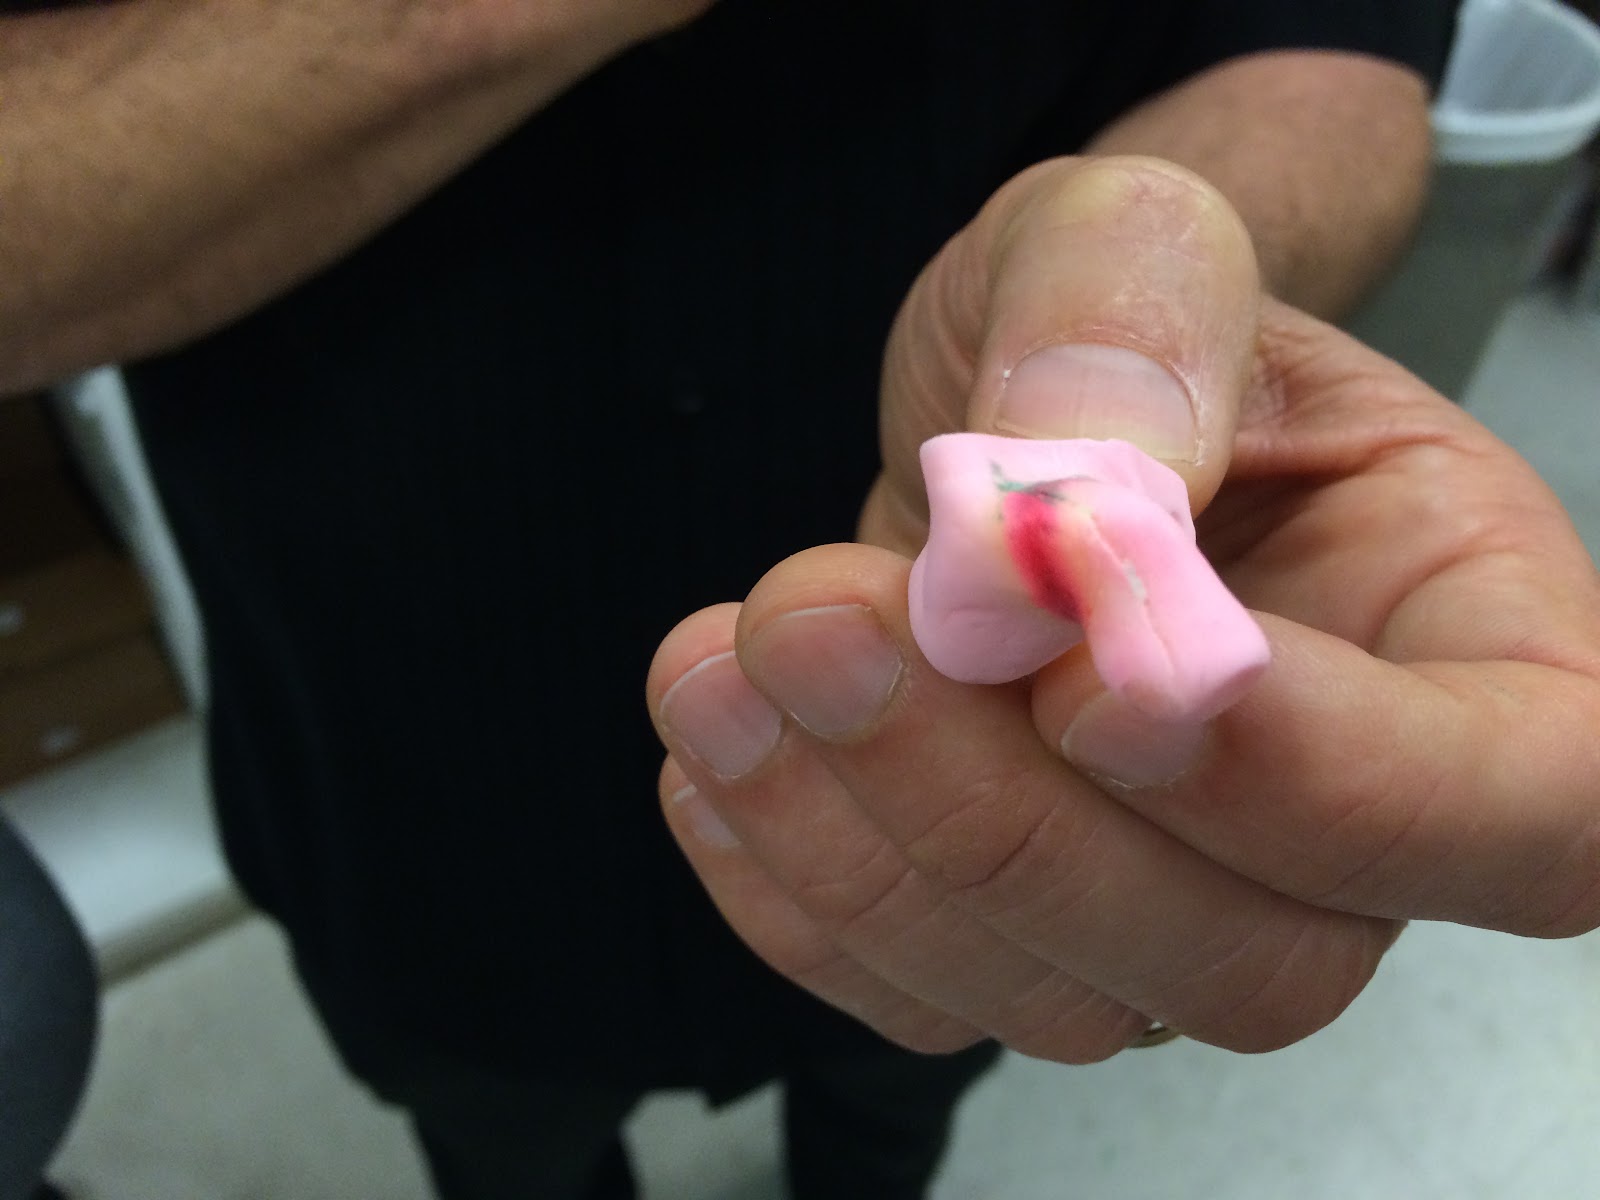
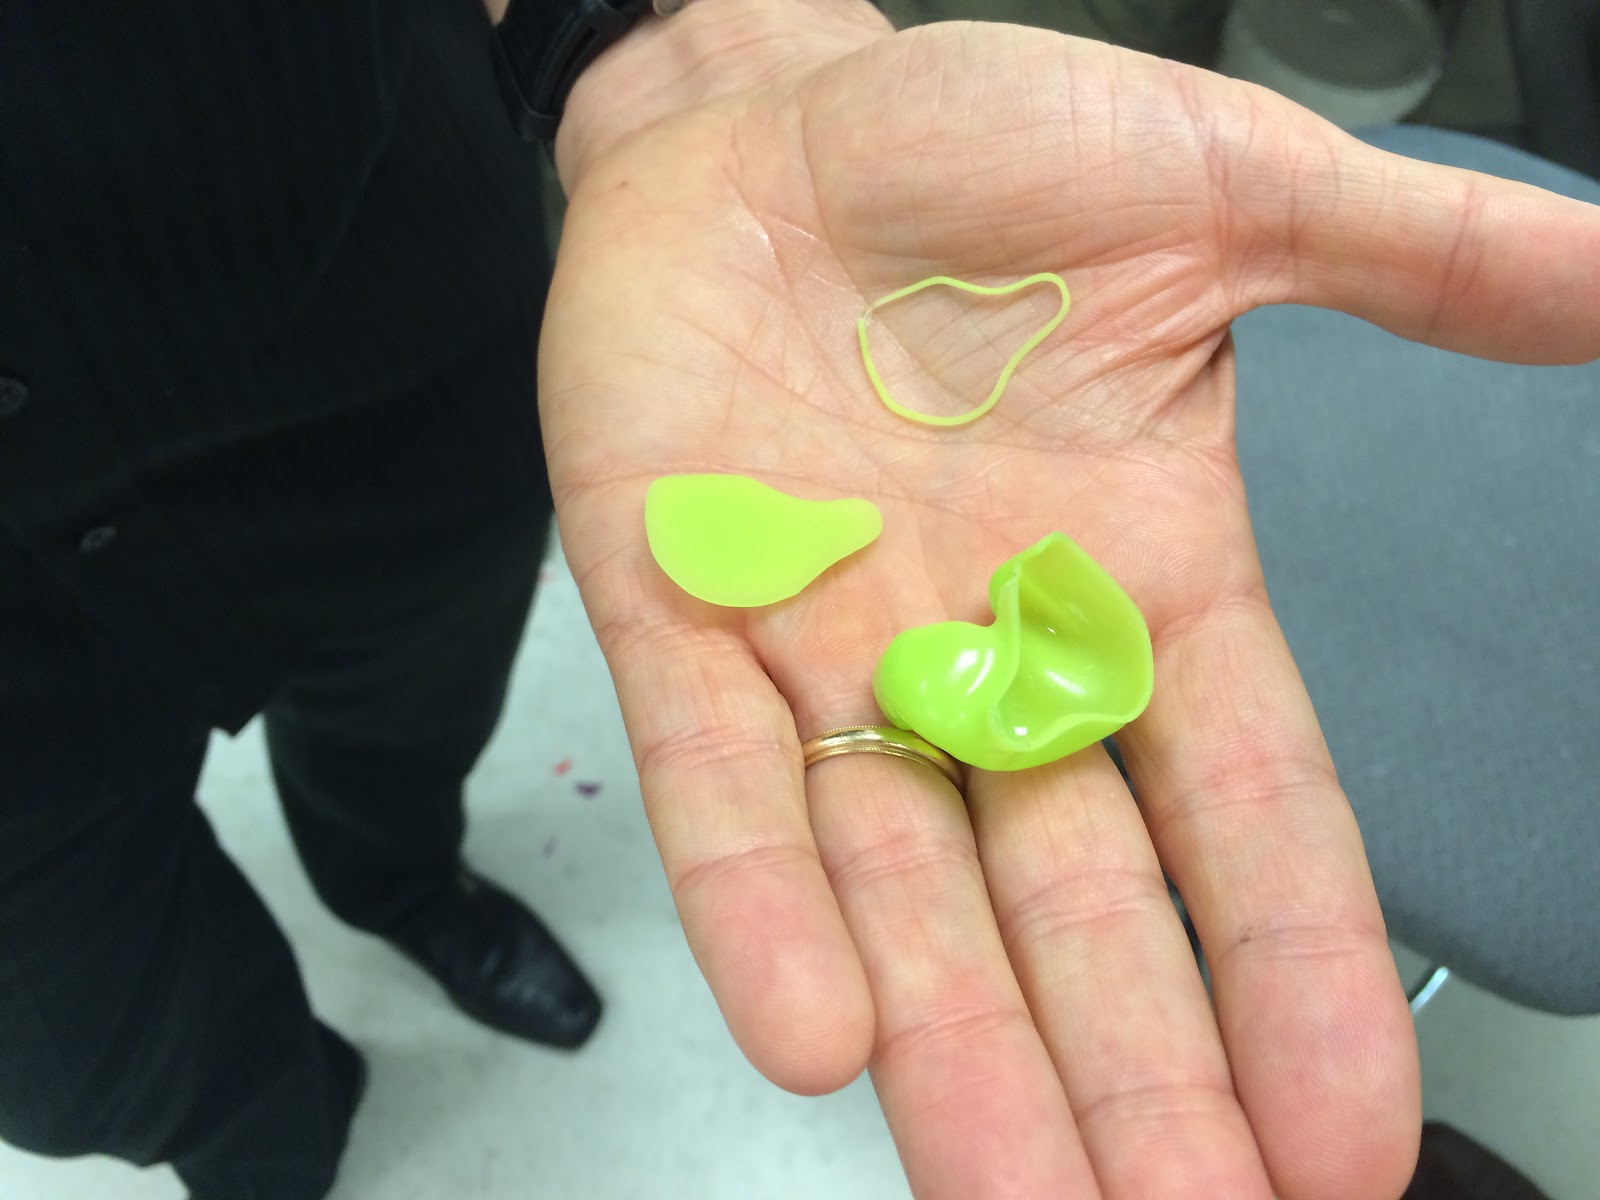
After the shaping for comfort is complete, a thin band is added back on the neck of the impression that will help create a seal in your ear. You can see it on this model as a red stripe. This impression is used to create yet another mold that is used to make the actual headphone.
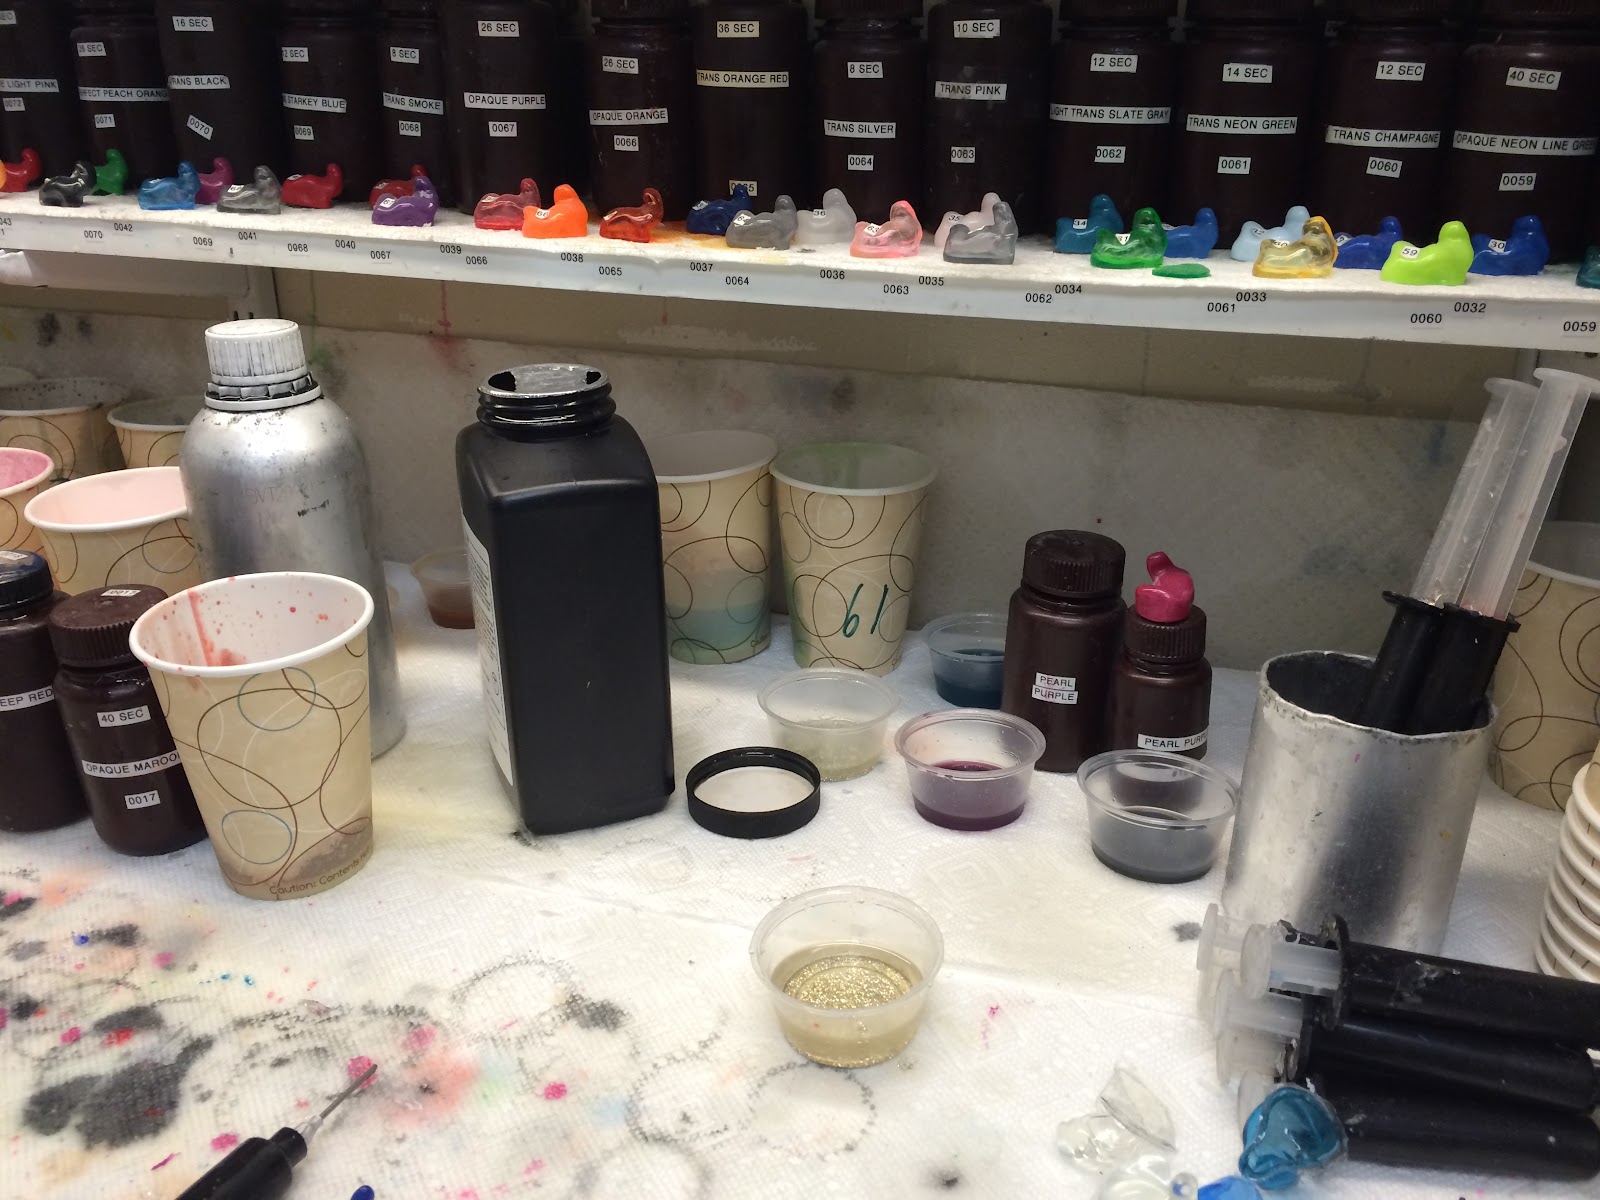
Now that the techs have the mold that will be used to make the actual monitor, the technicians mix up the proper color based on your order.
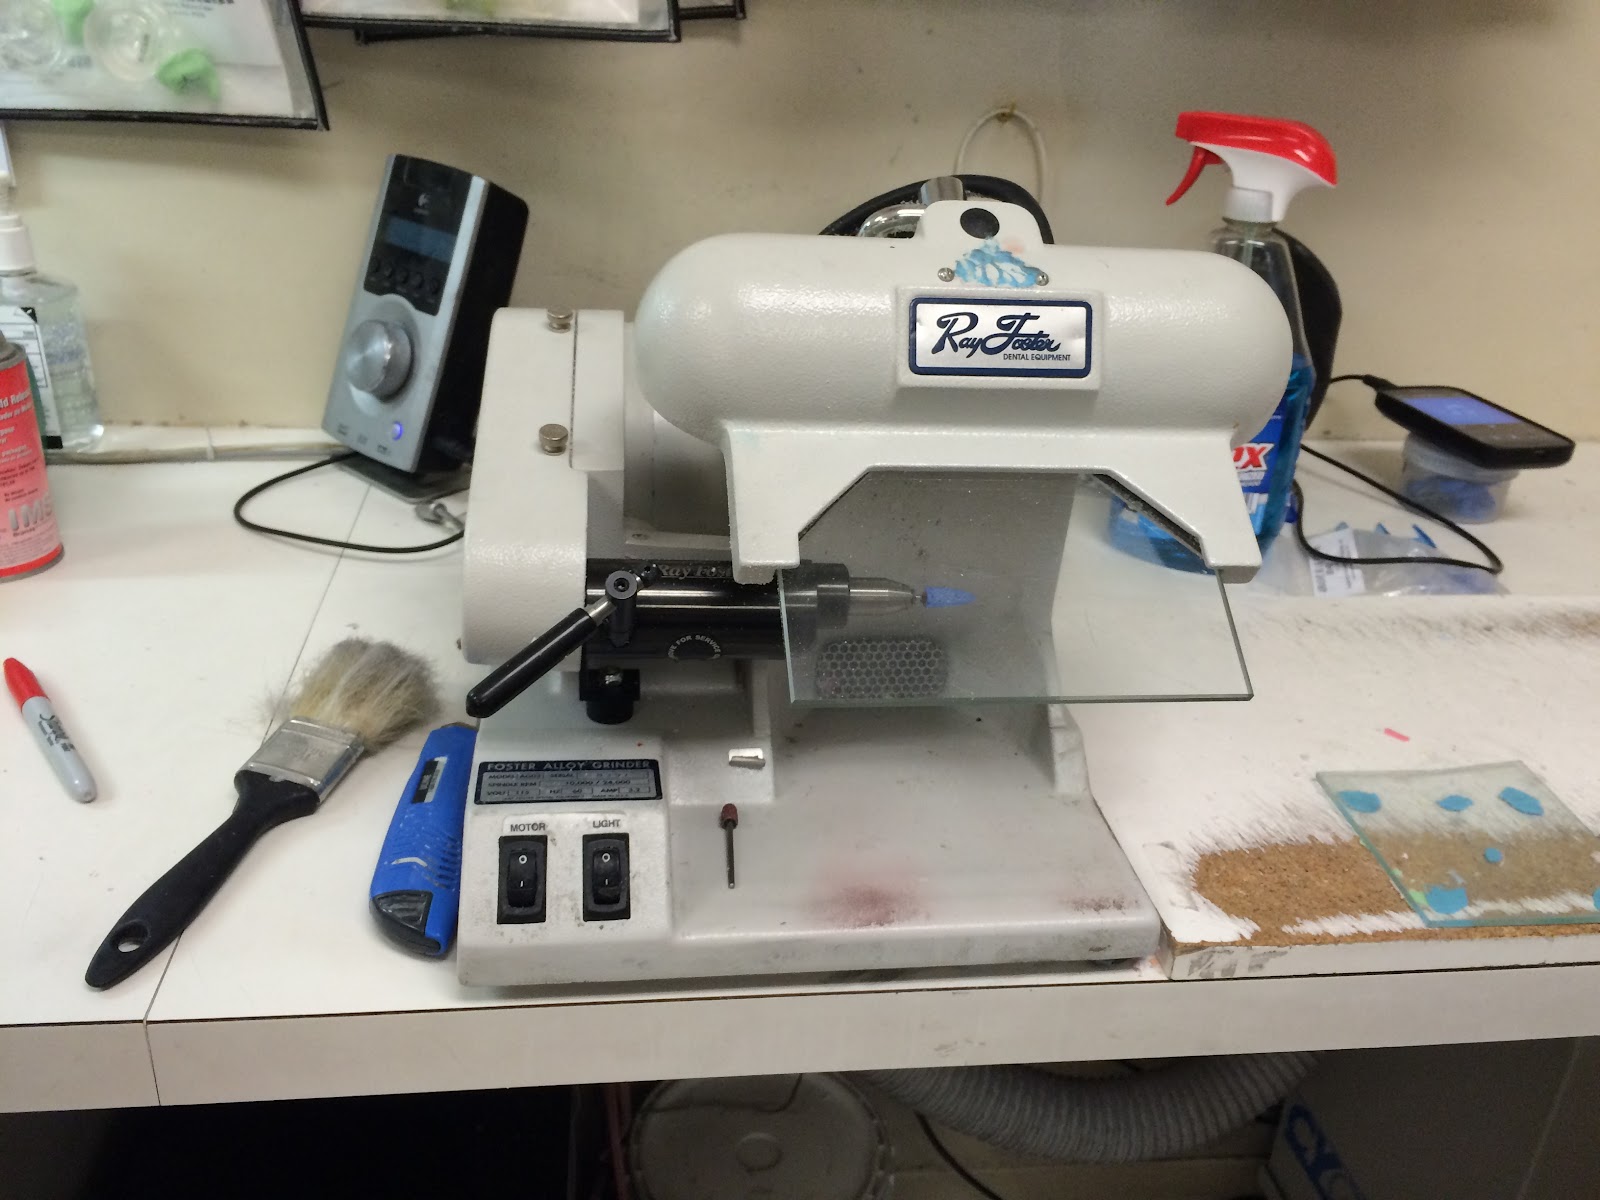
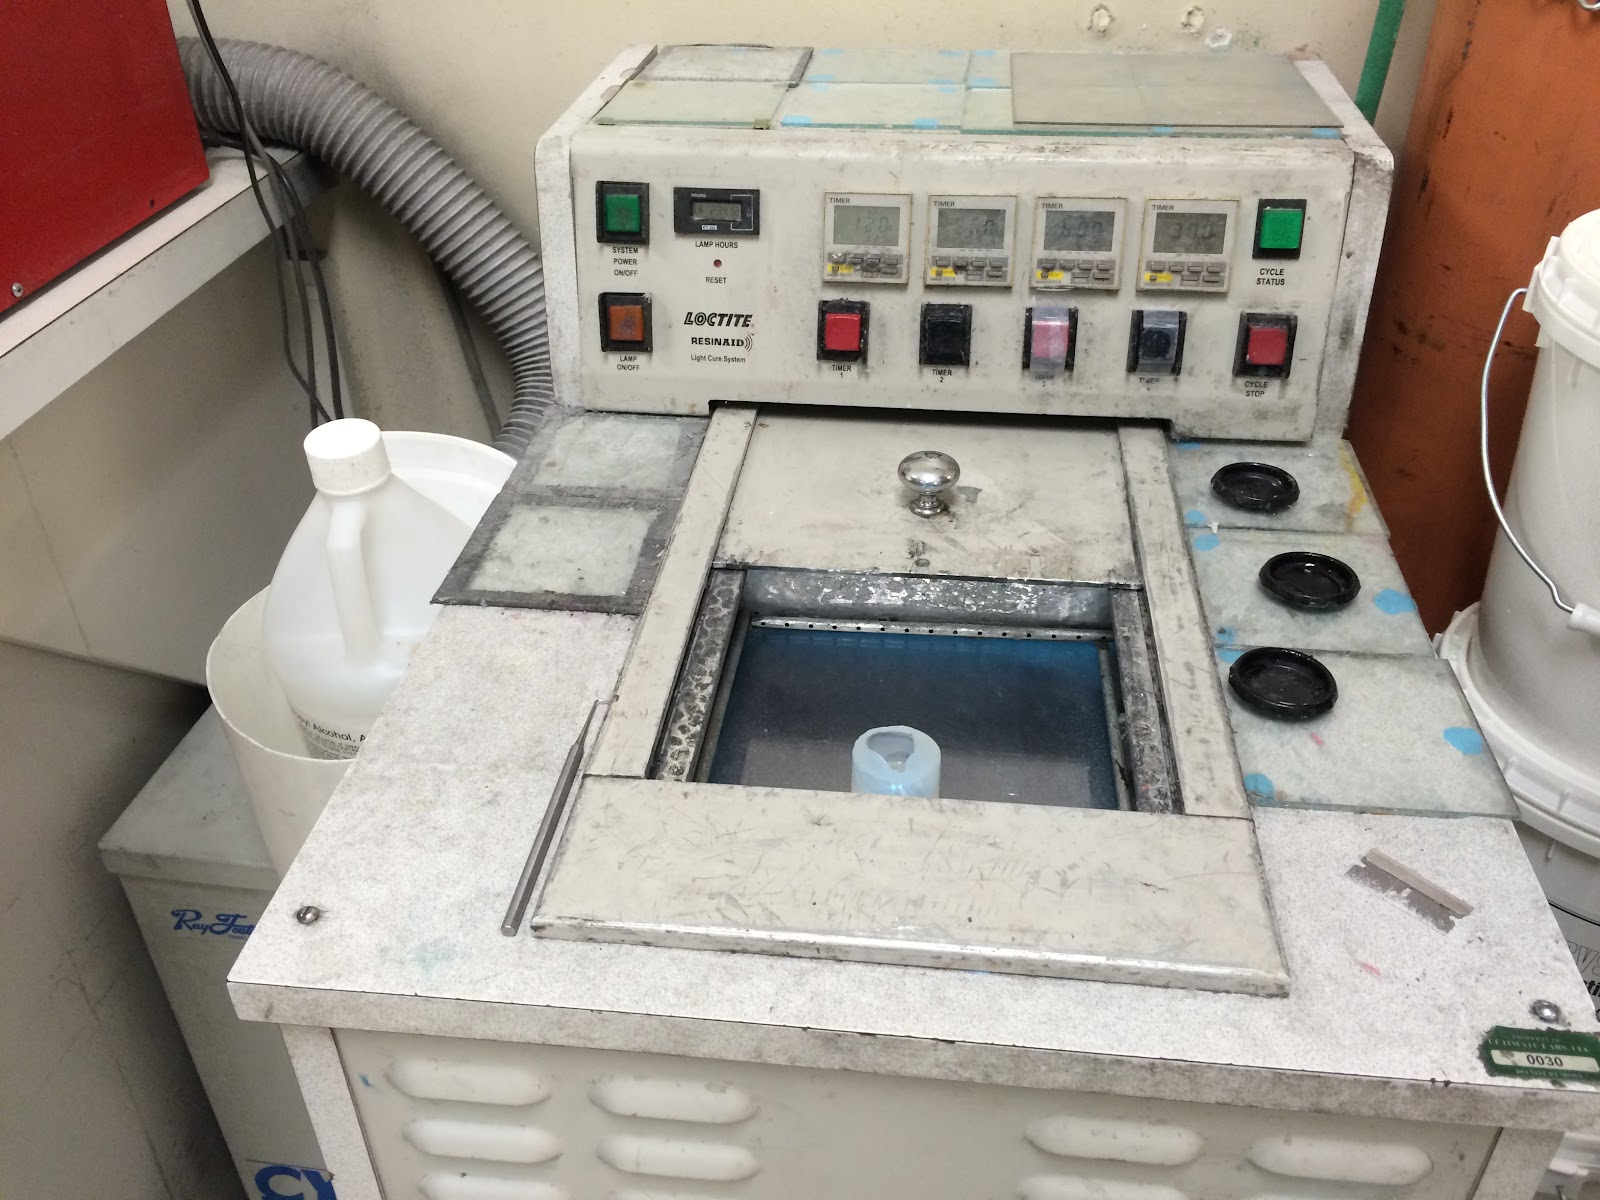
This filled mold is then put into a UV machine that causes the material of your monitor’s chassis to harden. Different colors have different “cooking” times, with darker colors taking less time and lighter colors taking longer.
The end result looks something like this:
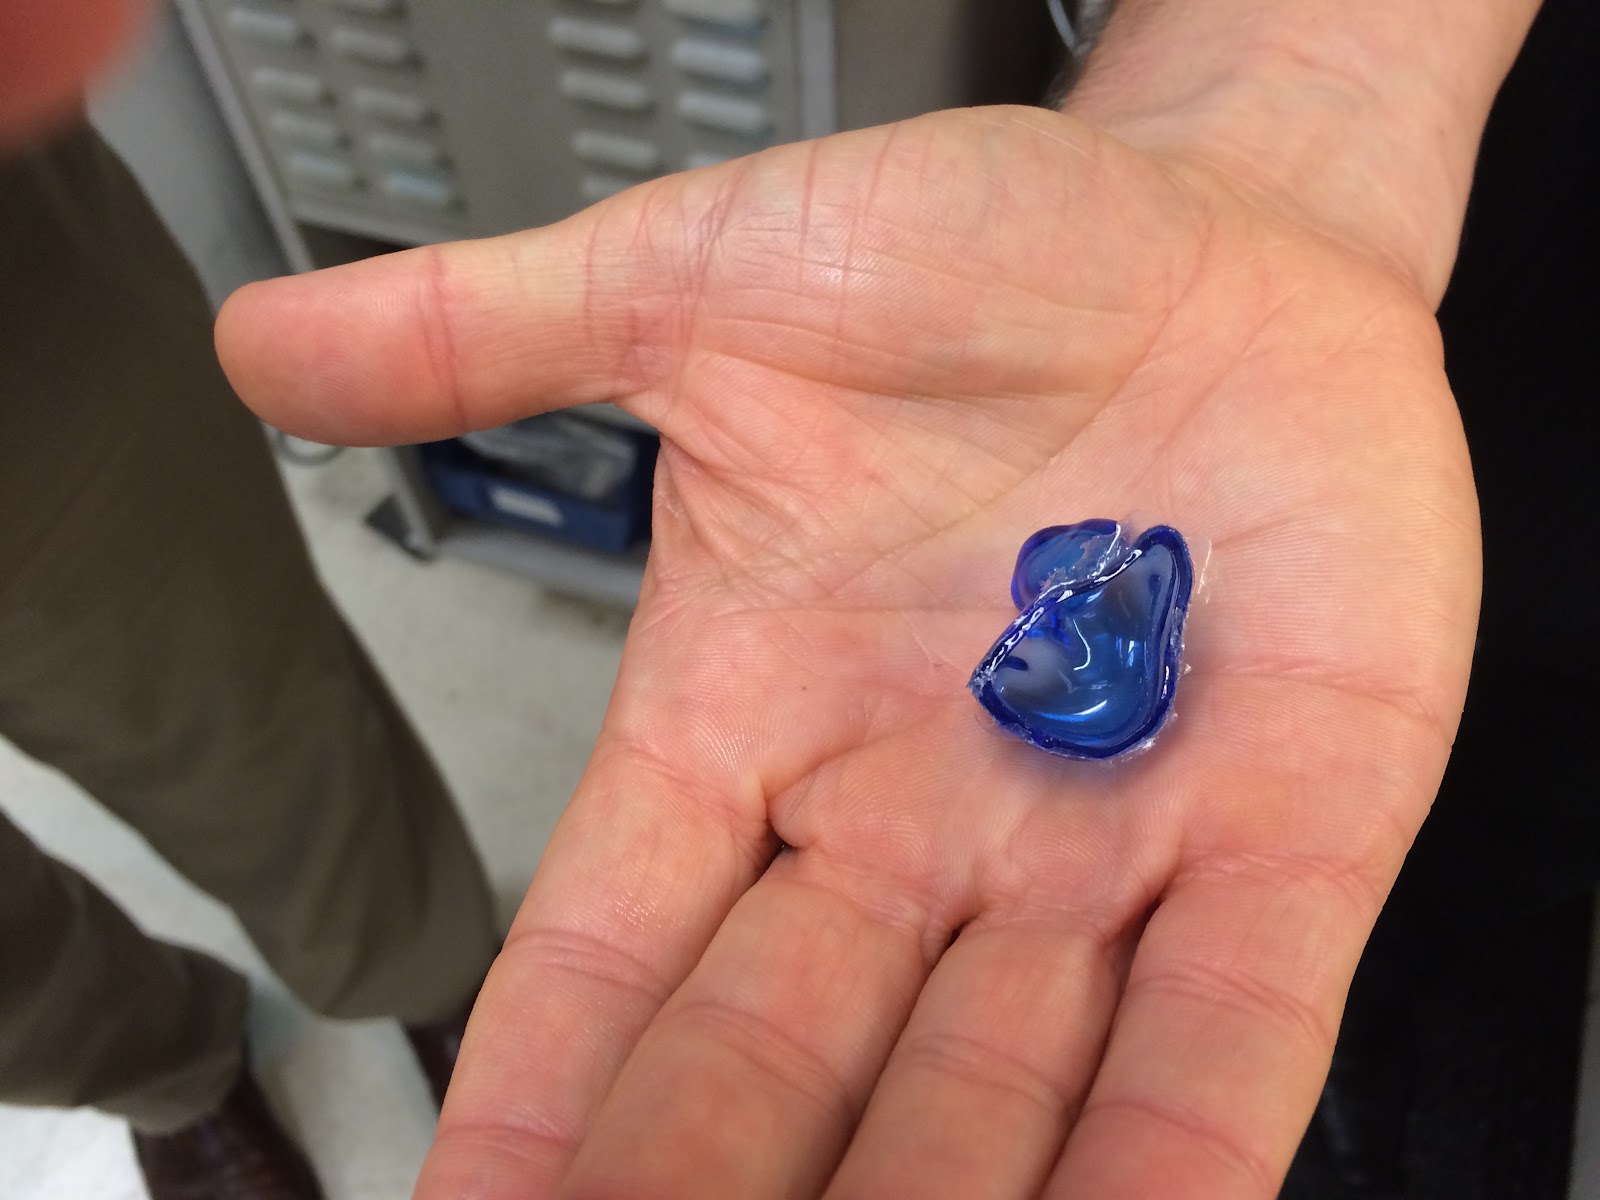
Of course, this needs to again be dremeled and smoothed so that any extra material is removed. Next, the cover, or what is visible when the monitors are in your ear needs to be made. Of course, the cover is custom shaped to your ear as well. So the technicians shave off a tiny sliver of this chassis and use that like a cookie cutter to make the cover. The sliver is filled with the color you chose.
Crazy tiny right? One false move, and the process needs to start over. You can imagine just how steady these folks’ hands are. From this point, the drivers are added. But before we get to that, let’s go back in time and see how the new 3D process has affected the building structure.
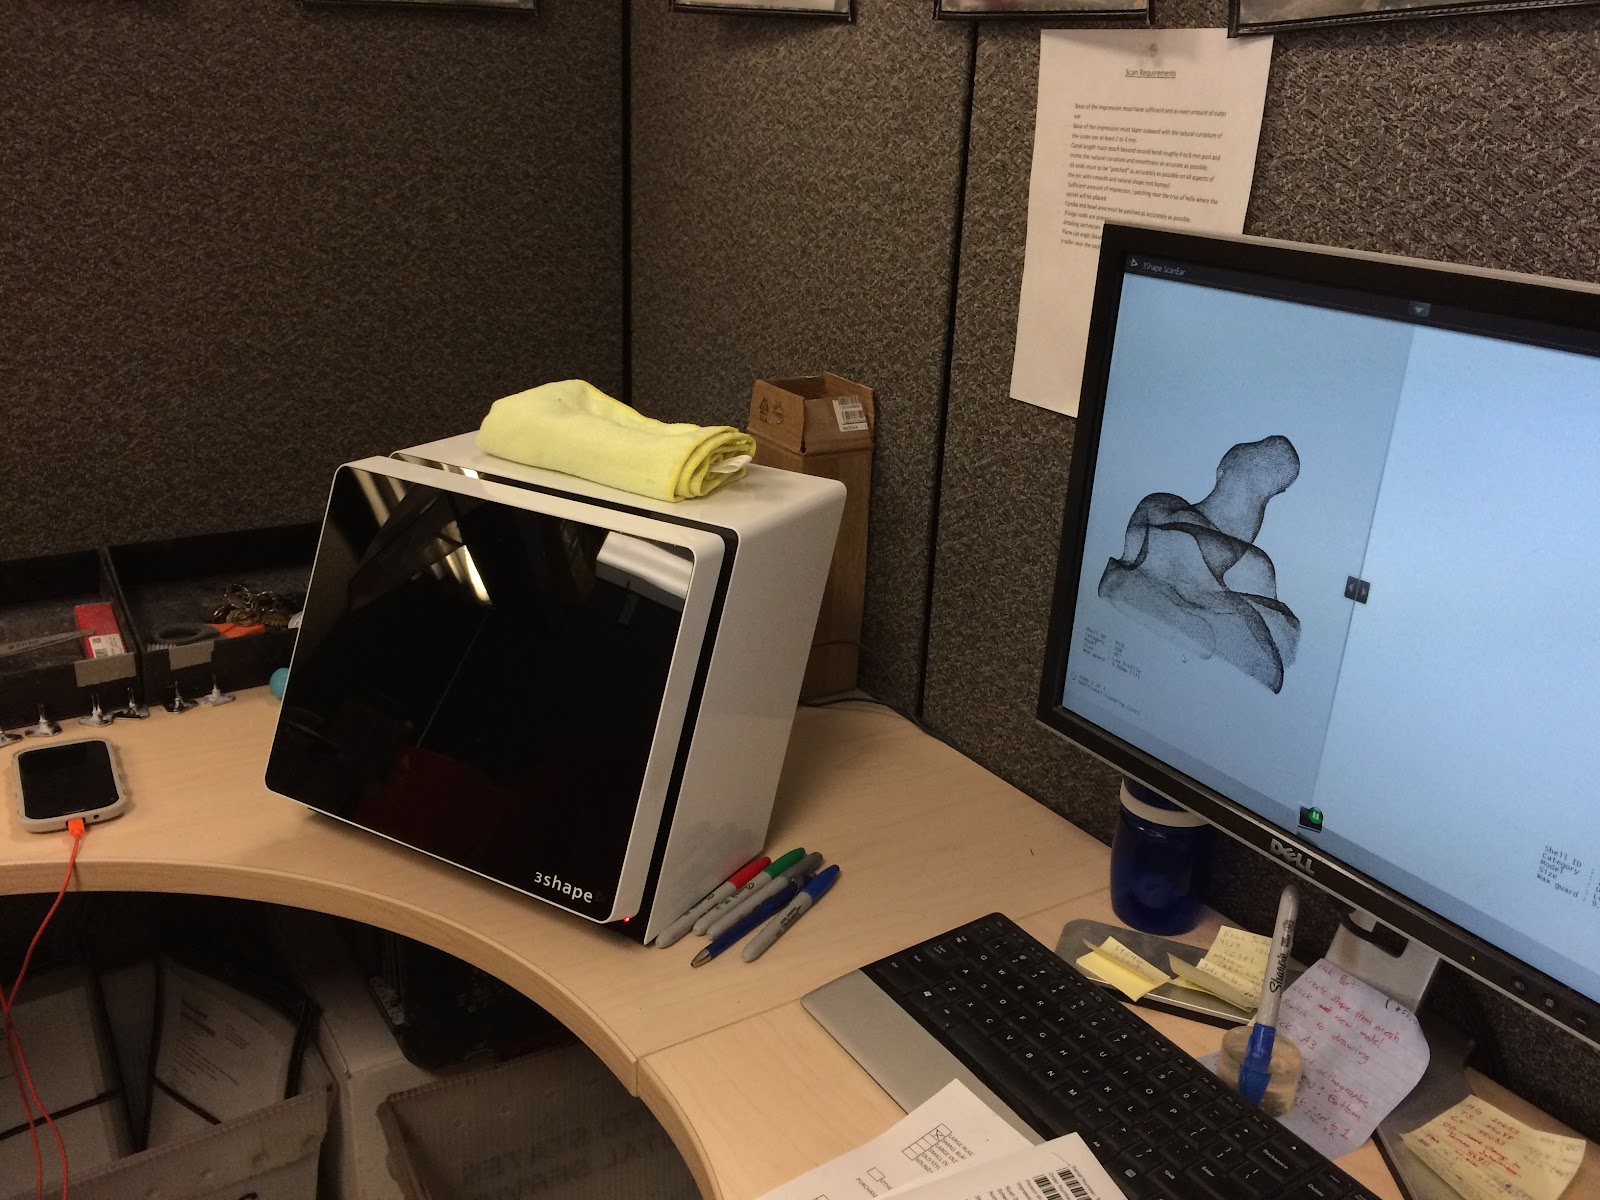
So, imagine we just took impressions of your ears. That impression is scanned in using the black box on the left. These are located wherever in the world you are when you get your audiologist appointment. As you can see on the screen on the right, the 3D mapping software makes a virtual mold of your ear impression, which is sent to UE.
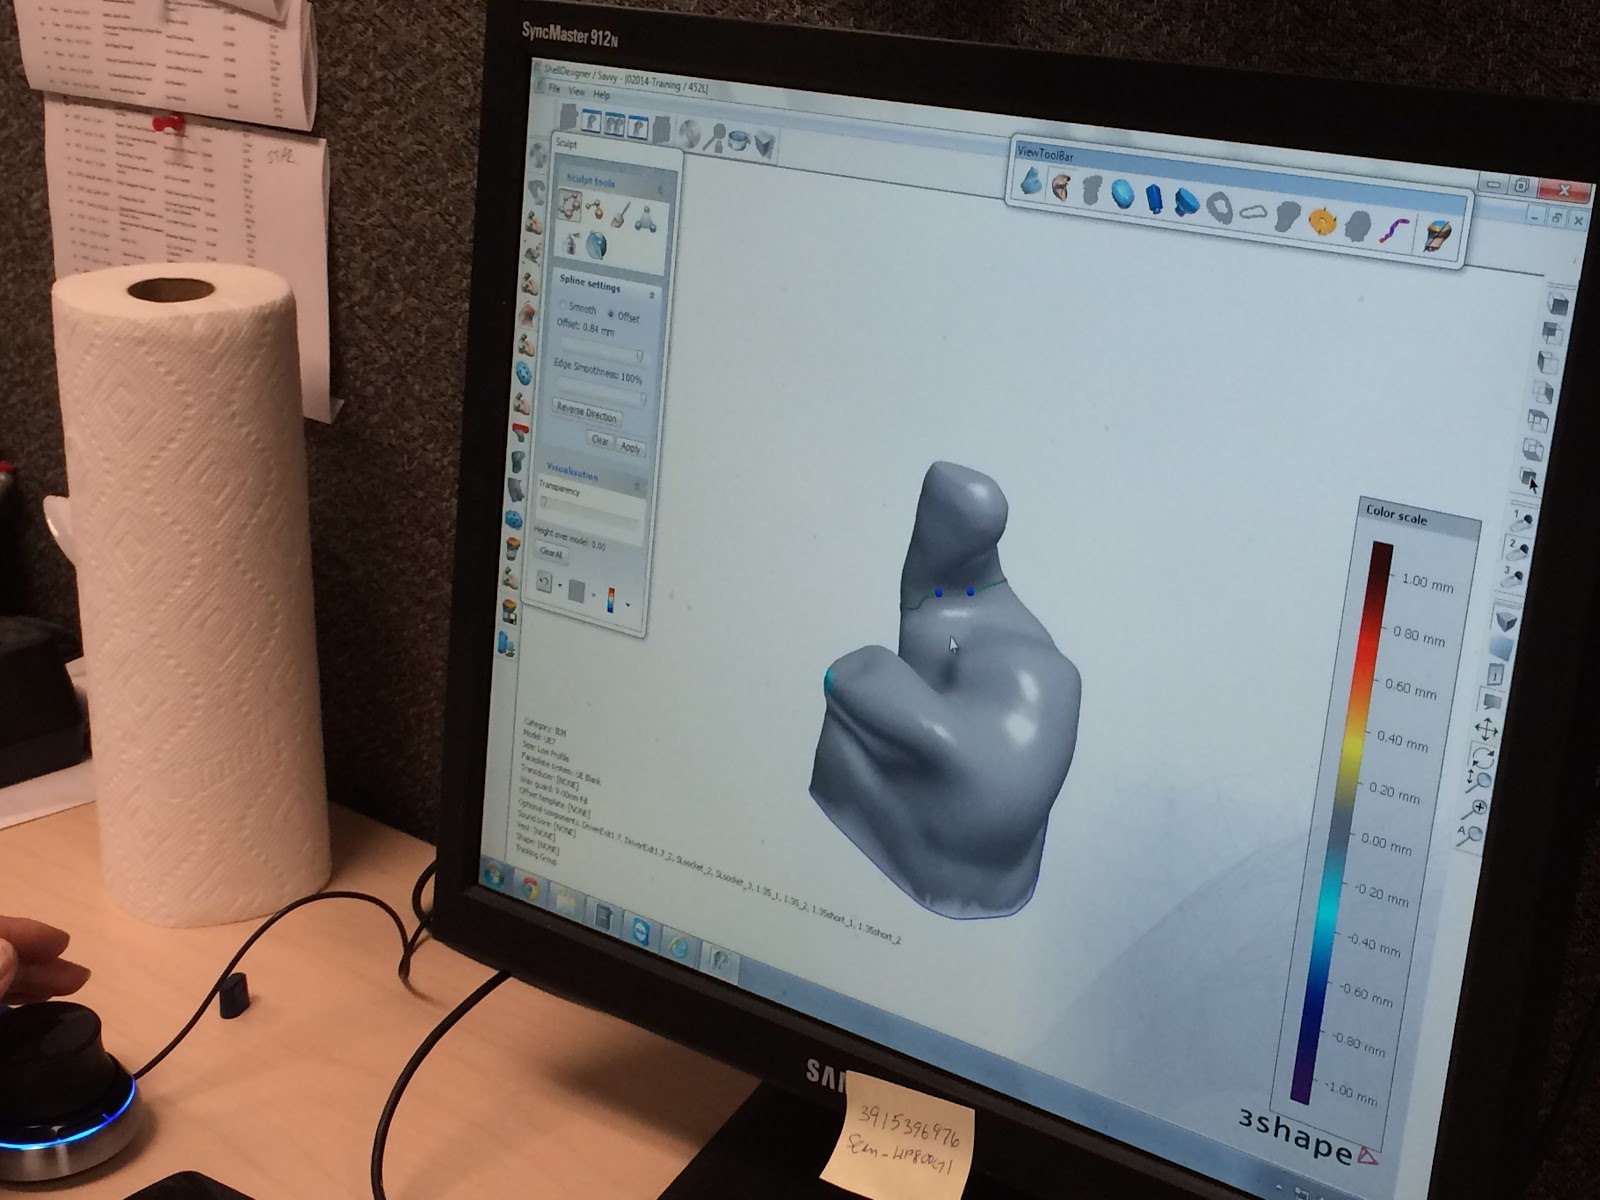
After they receive your impression, a technician completes the same process as before, except instead of a physical impression, they’re shaving a digital version. As you can imagine, the “undo” button removes a lot of the stress from needing to sneeze. The same smoothing and adjusting process is completed, but this time it’s all in special software that looks sorta like a photo editing suite.
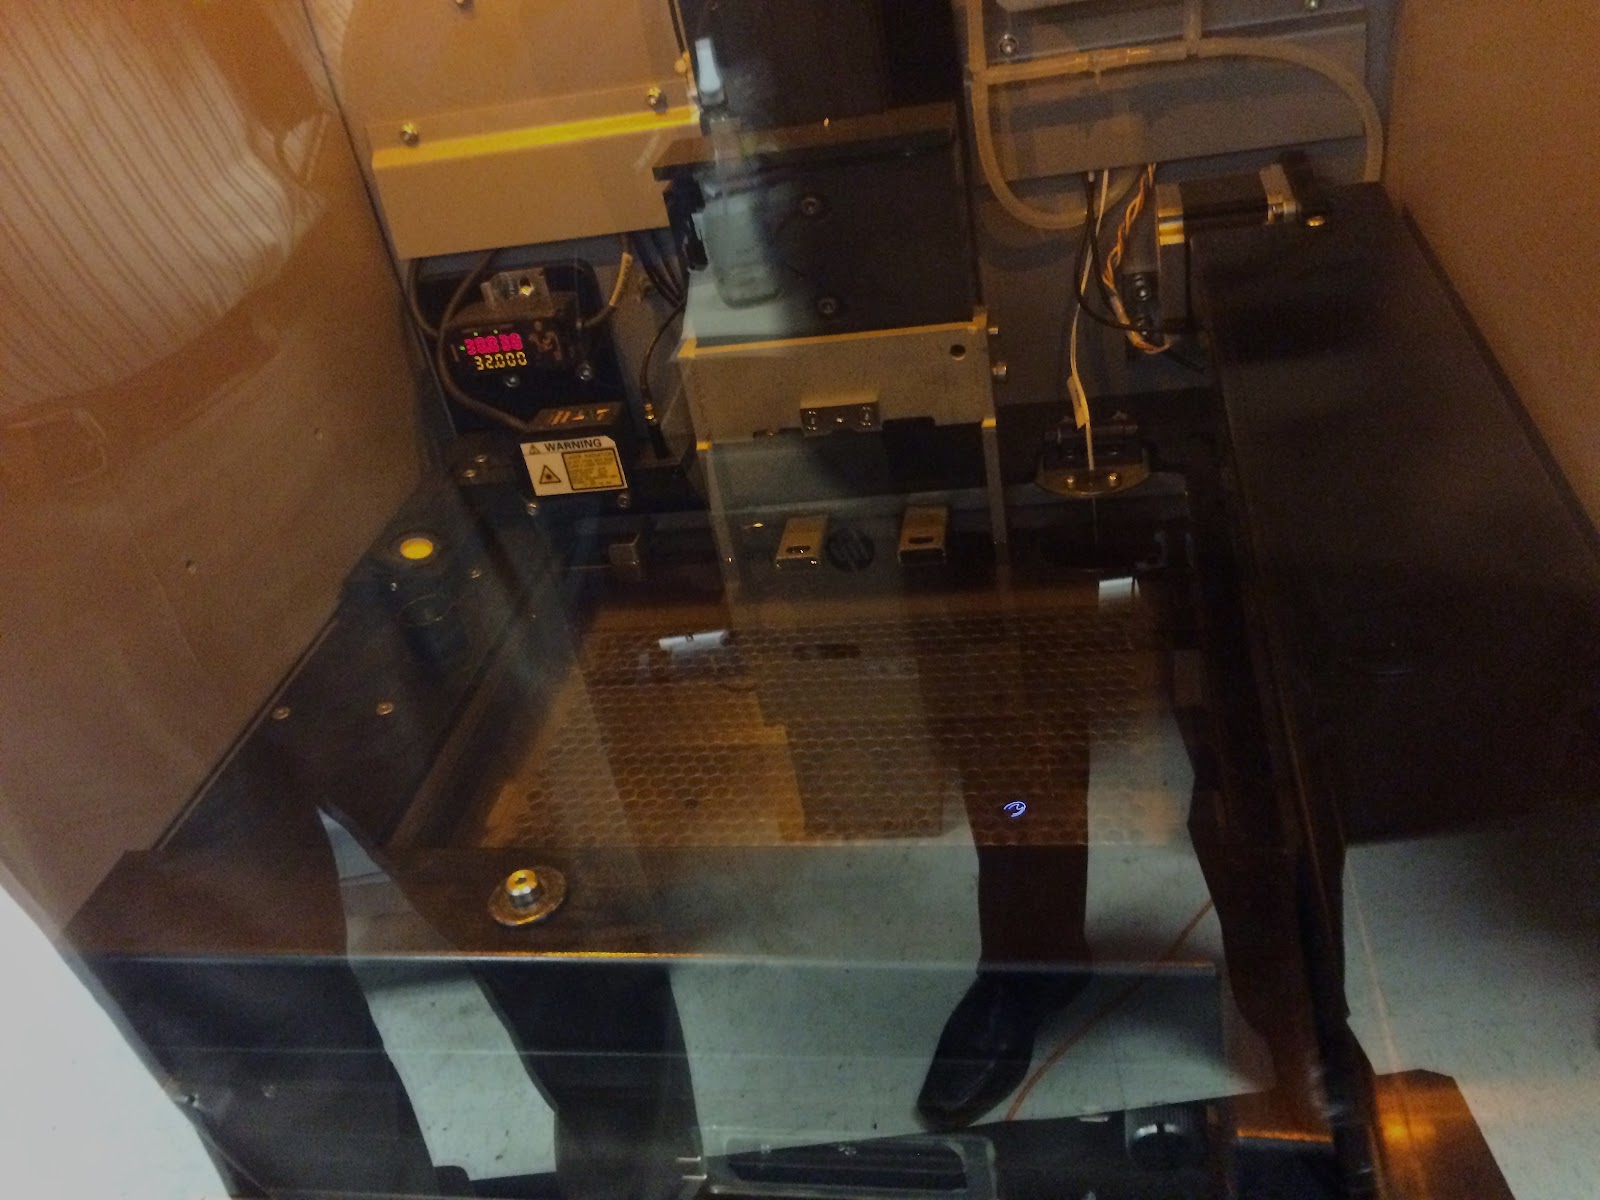
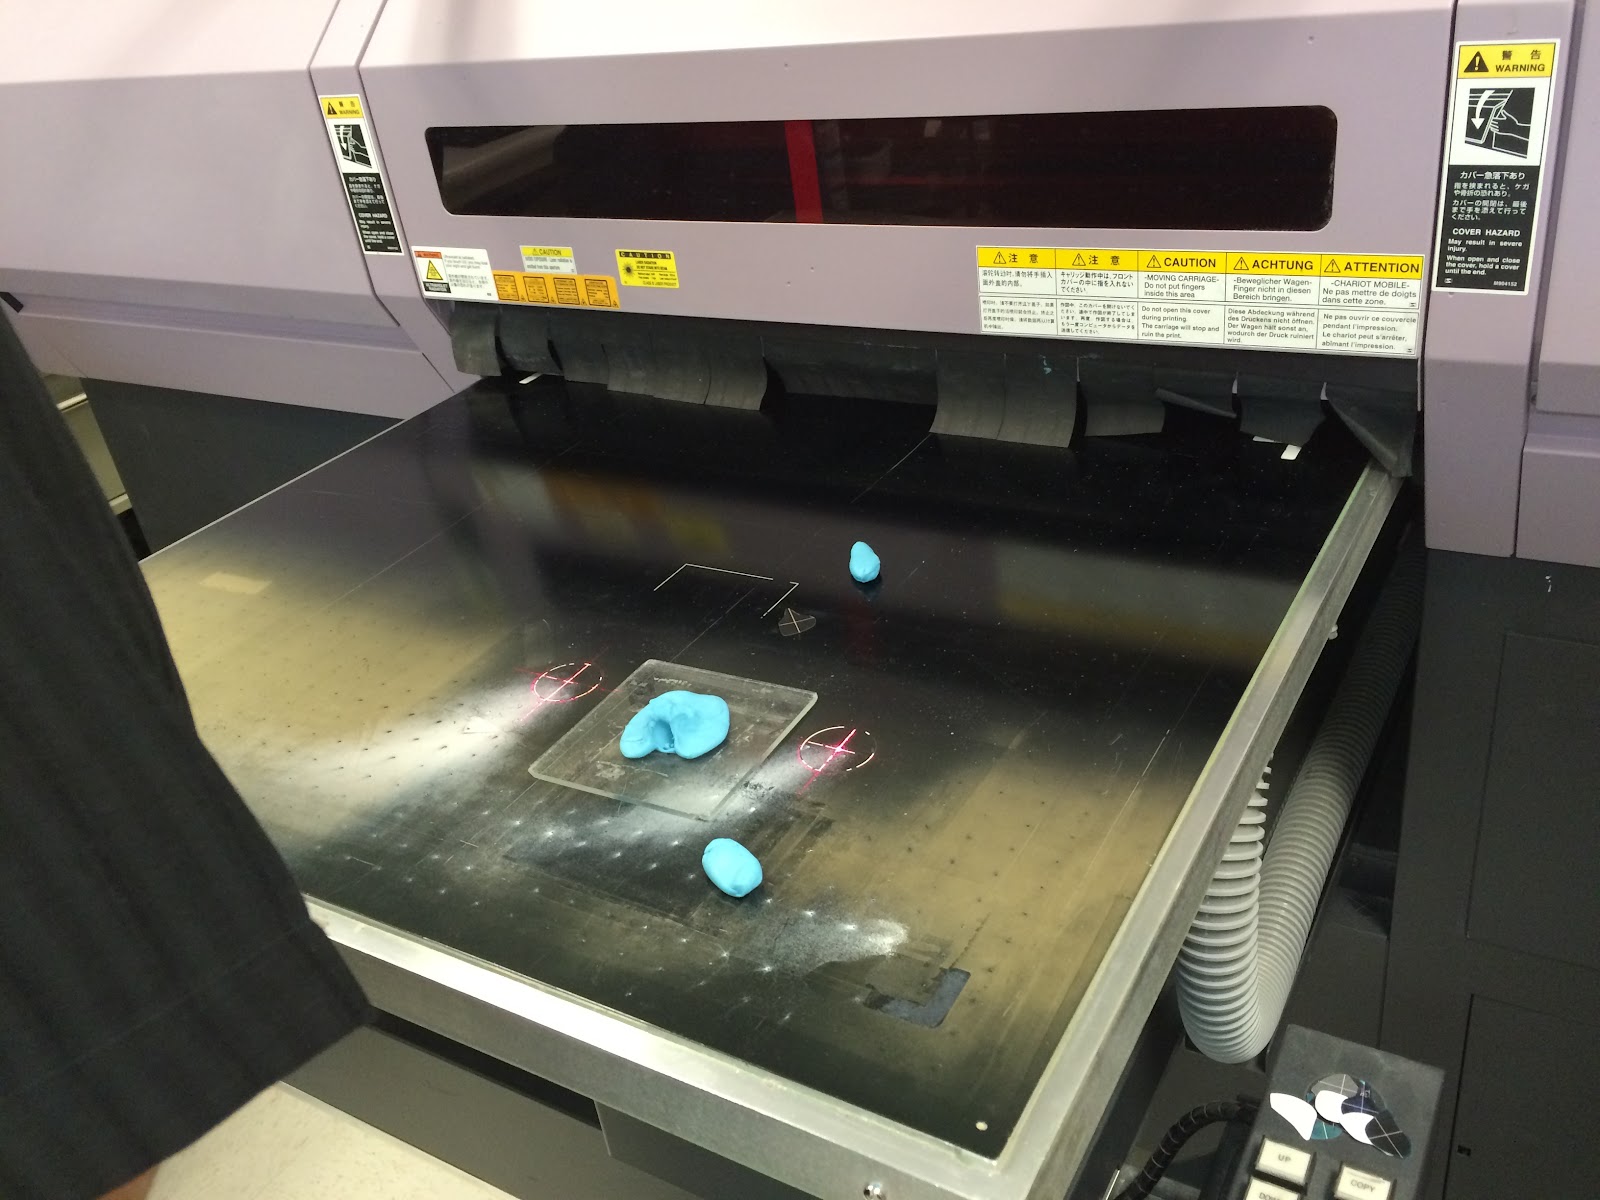
This adjusted impression data is sent to a 3D printer where your monitor’s chassis is printed from the same material as the traditional method; it just looks a lot cooler. The printer works really quickly, so it’s tough to show exactly what’s happening. But that blue squiggle is actually a little UV laser-guiding the print process.
Ultimate Ears told me that they have been running the 3D print manufacturing model side-by-side with their traditional manufacturing model for a year, but are just now unveiling it to the public and press. Why? UE wanted to see if the print process had any effect on the end customer experience, but they wanted to do so without the end user being influenced by the concept of whichever process was used. In the end? There was a definite effect. Not only did 3D printing speed up the time from order to receipt, but UE claims that customer-reported fit-related issues (which they said were small in number before) have actually decreased by 50%.
That said, there’s still a lot of hands-on bulding happening in the printing process, and from this point on, the printed and traditional models are made the same way. So. We have our chassis, it’s time for drivers.
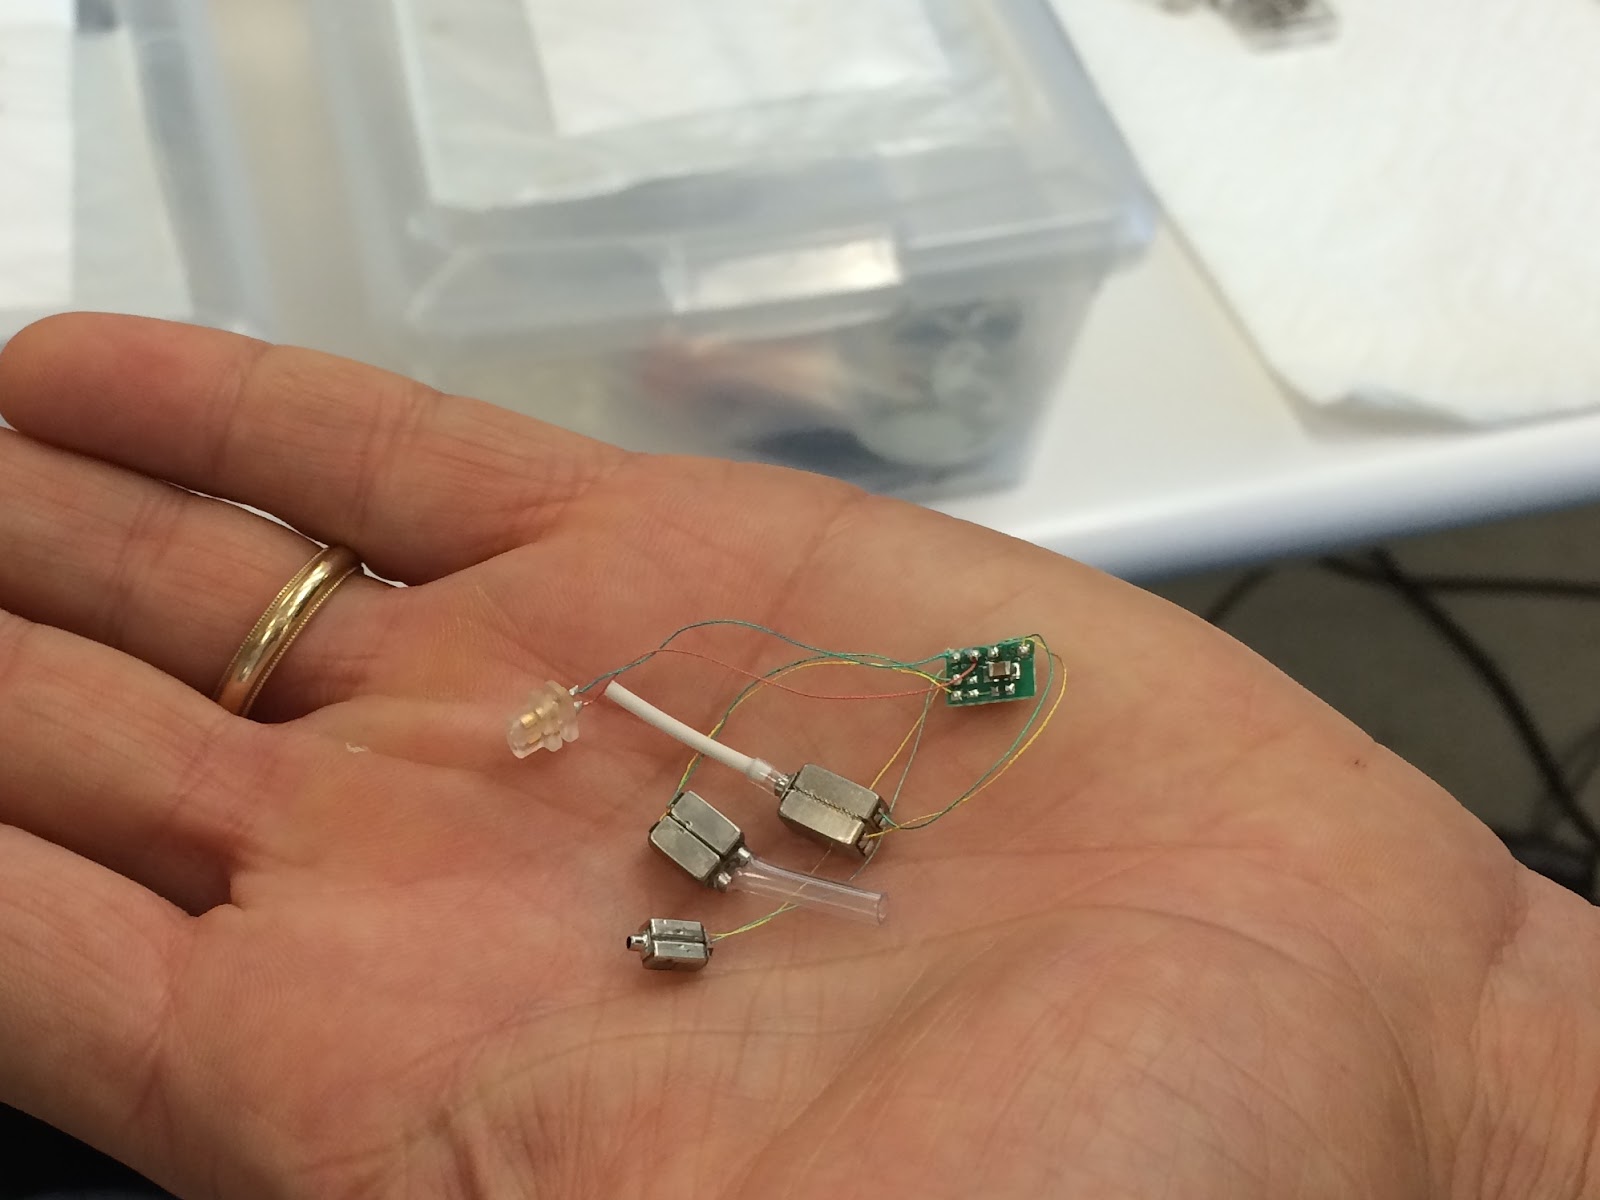
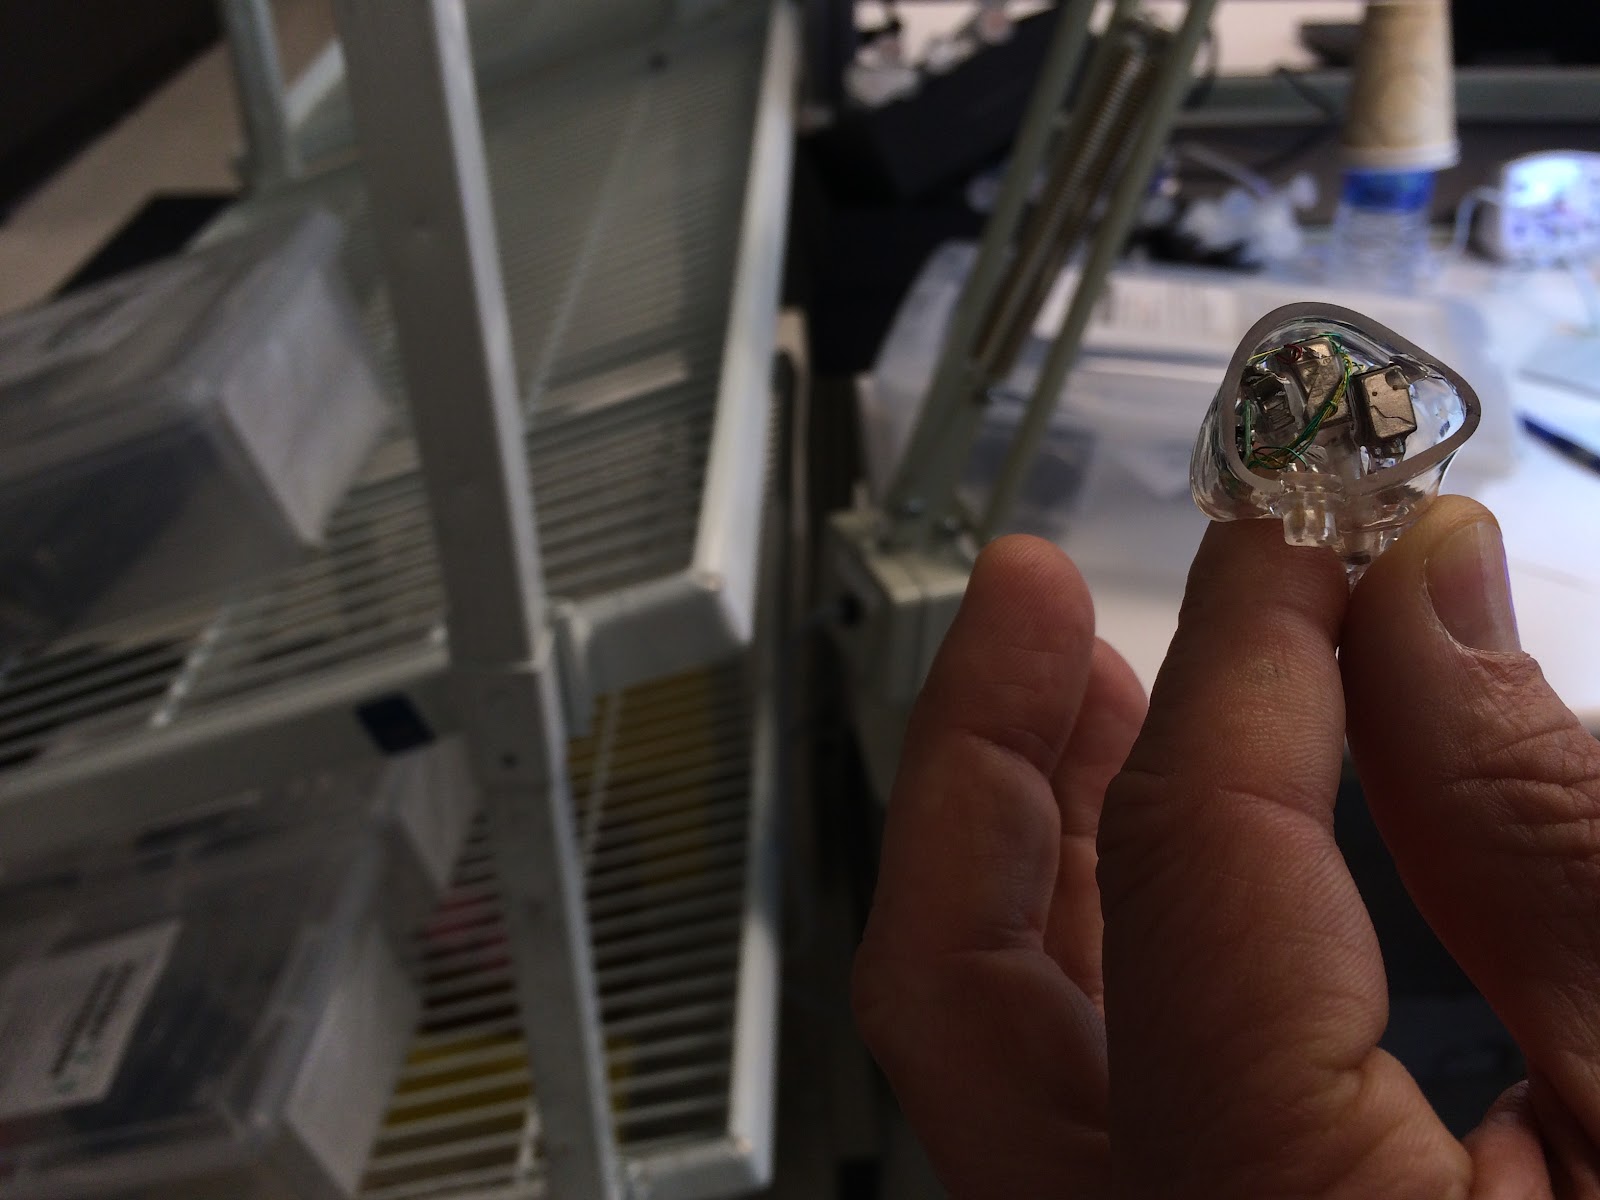
This six driver unit is hand soldered to the crossover chip, connected to the tube that flows to your ear, and is placed into the monitor chassis shell. UE says that the benefit of having a hollow chassis is that problems are easier to fix, and damage easier to mitigate down the line if something happens to your monitors while in use. Basically, if you can take something apart, you can attempt to repair it. If the chassis were solid, this couldn’t happen.
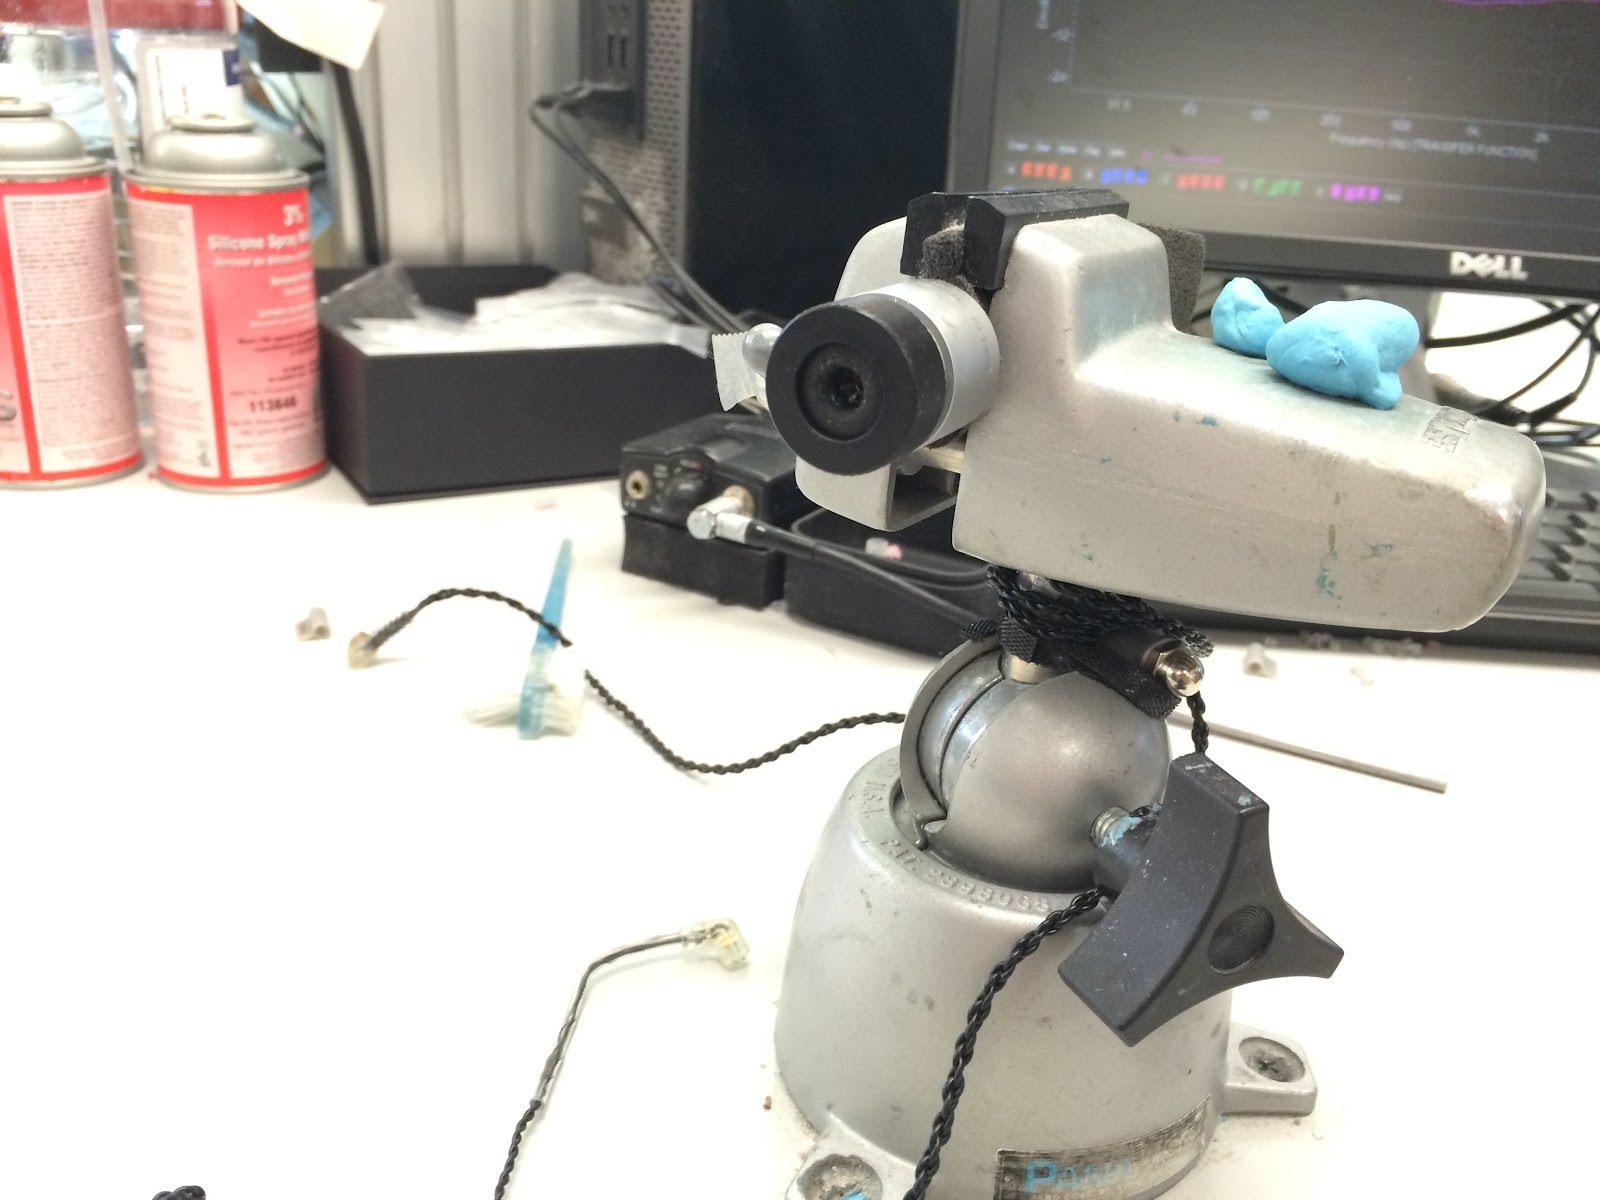
Once the drivers are placed in the chassis, UE uses pink noise and other tests to check the frequency response of the drivers. Not only do they use a mic in front of the output tube, but they also use a separate method that measures the bass response that is transferred through bone conduction. See the foam ring around the inside of the mic below? The entire monitor is pushed into that foam to measure the conductive bone low-frequency response.
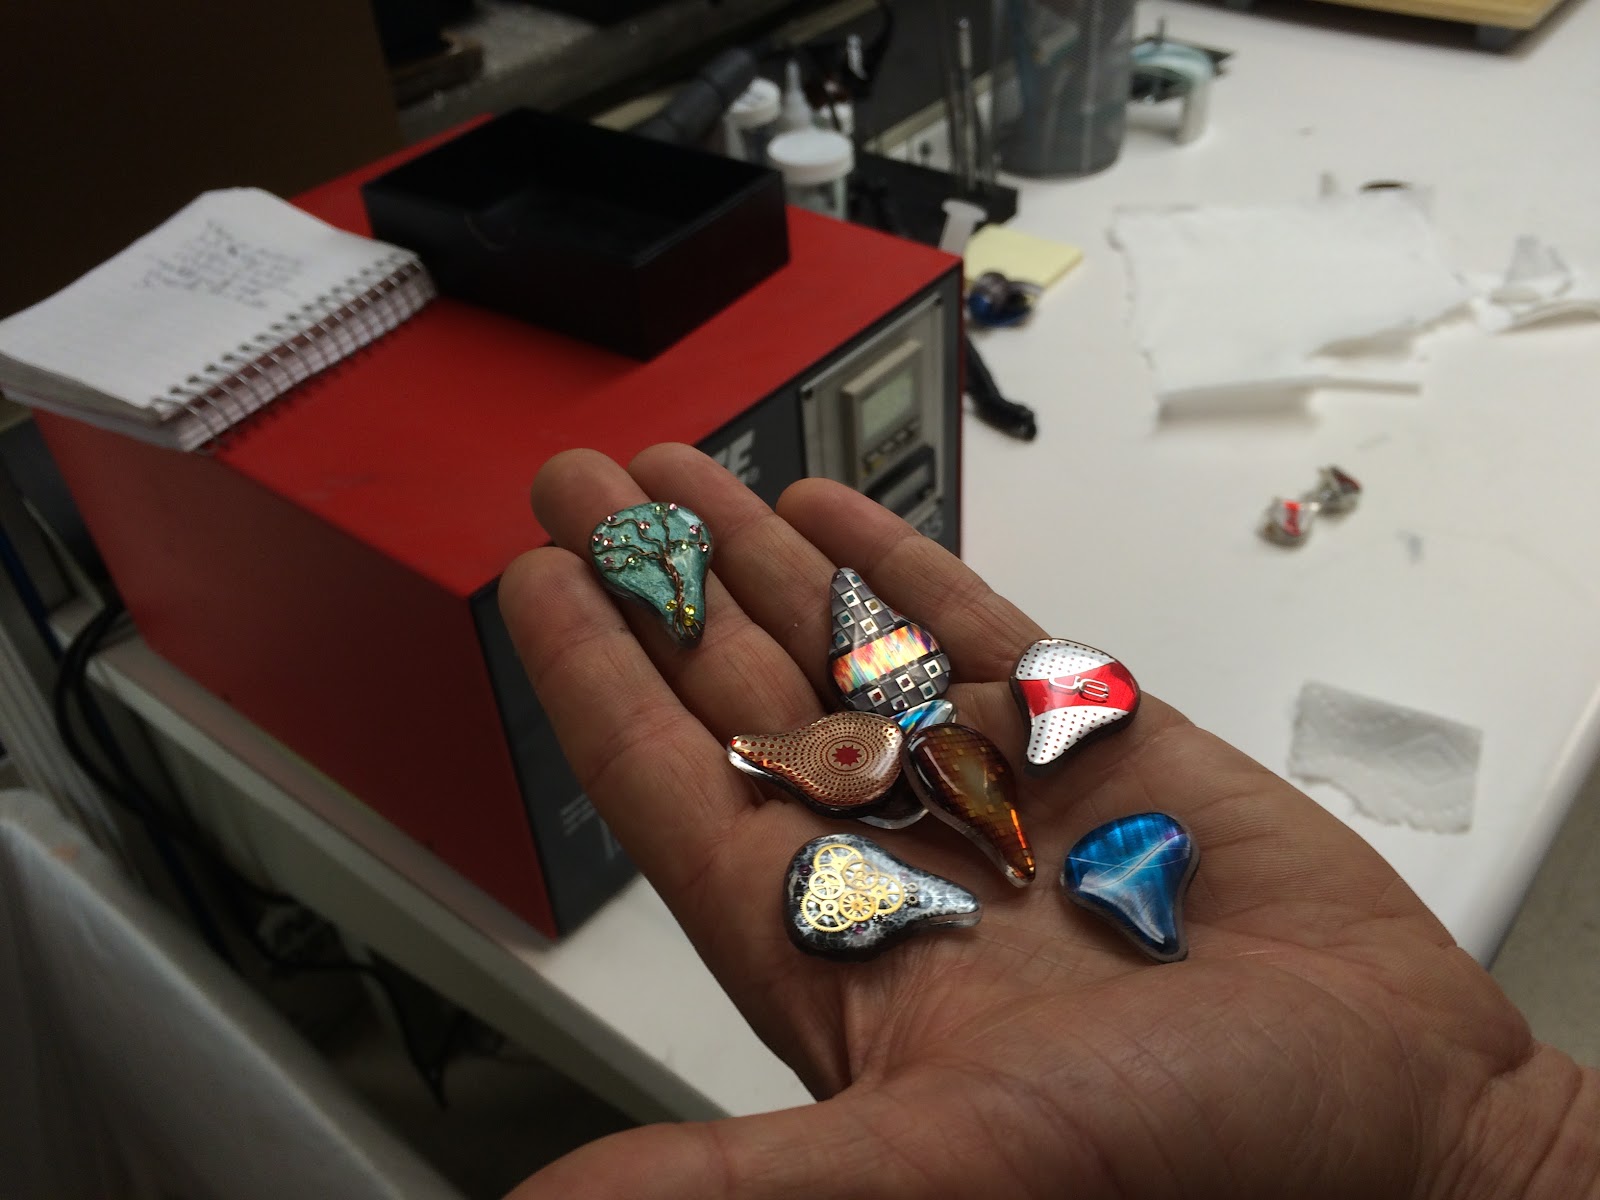
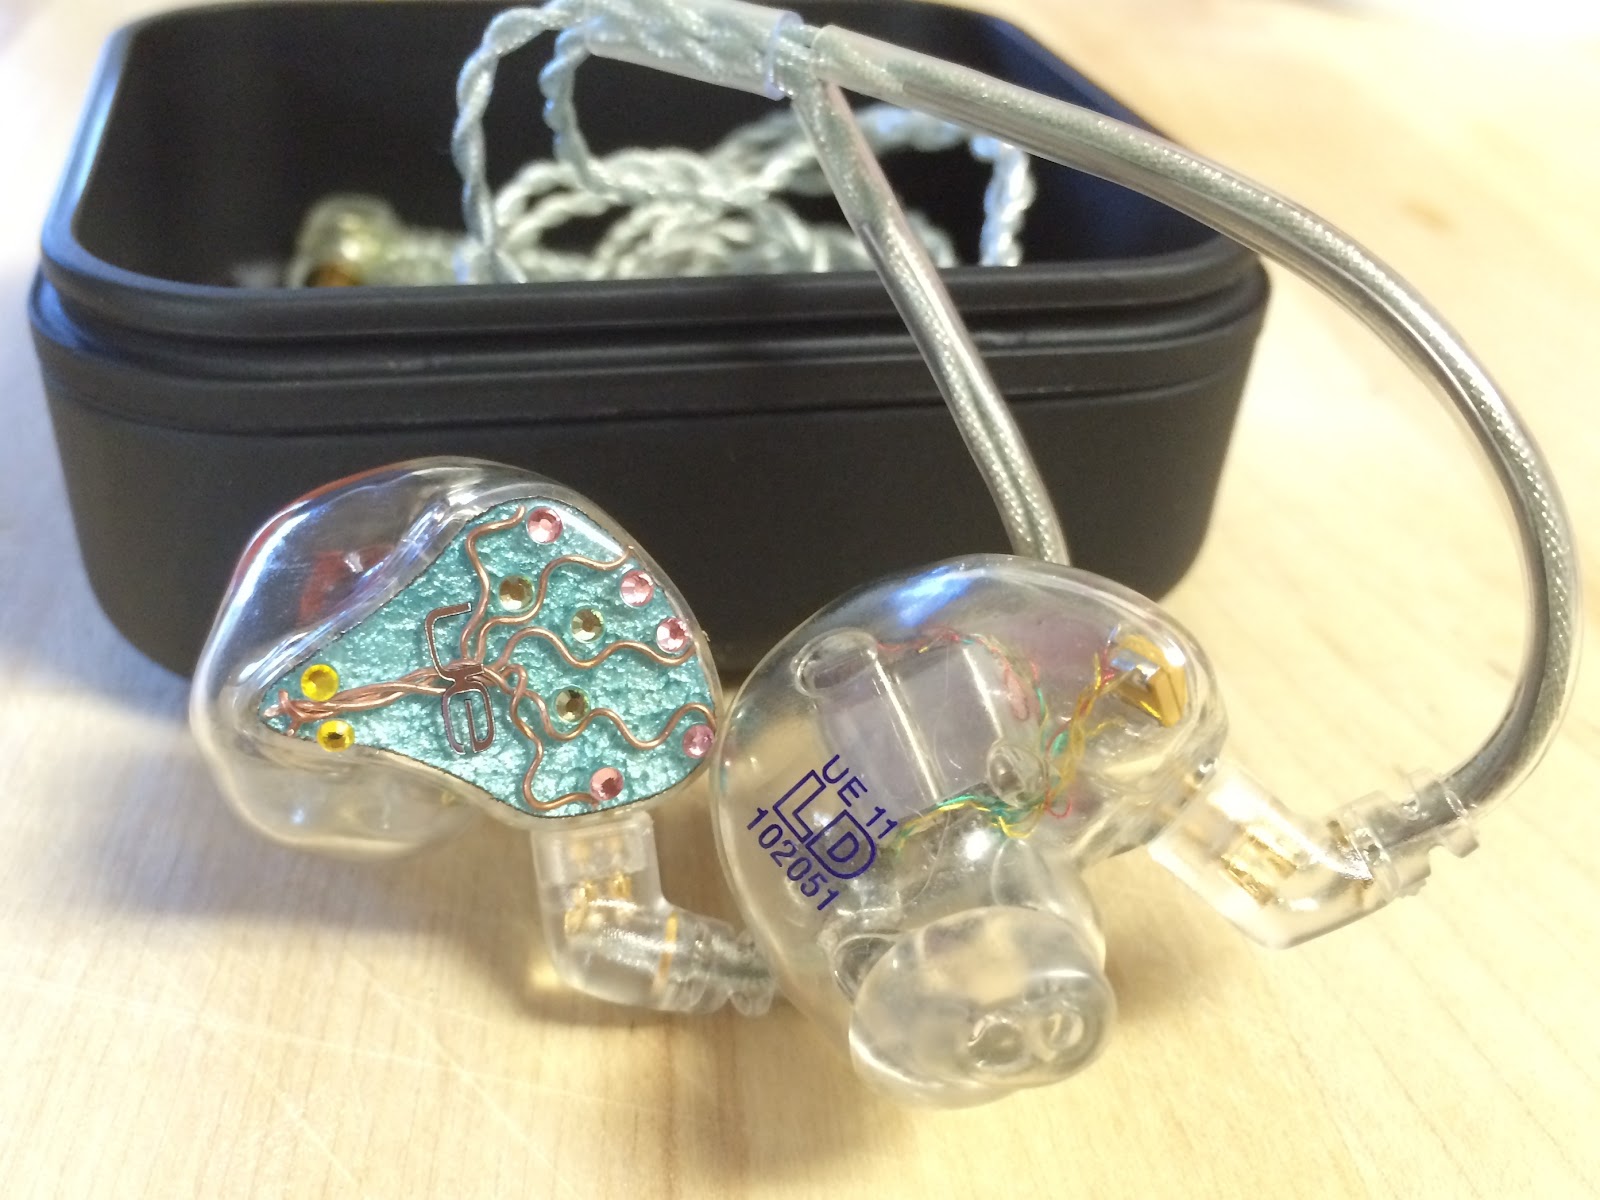
Once any driver adjustment or tube length fixes are made to get the desired frequency response to specs, it’s time to seal up the monitor with your chosen faceplate, whether it is solid colored, one of UE’s designs, or your own personal fancy-pants custom design.
If you decide to design your own, the image is printed out on the faceplate/cover with this whopper of a printer, which is unique because it can print white as well as colors.
Finally, the entire thing is sealed together with a UV hand light (which, incidentally, looks just like the ones used when you get amalgam fillings at the dentist) and the monitors are sent off to be buffed and shined and boxed up with your cable.
By the end of my tour, I was really surprised just how much craftsmanship goes into monitors at Ultimate Ears. Even with the 3D printing aspect at play, so much of what makes a custom headphone fit properly is a skill that is trained and honed over months and years by human hands. While the advance in technology was beyond cool to see, it’s the personal touch that makes the Ultimate Ears custom monitors feel so special.


| Displays Electronics Speakers | Sources Other Gear Software | Top Picks of the Year Top Picks | Custom Install How To Buy How To Use |
Tech 101
|
Latest News Features Blogs | Resources Subscriptions |
WHERE TECHNOLOGY BECOMES ENTERTAINMENT
 © 2026 Sound&Vision
AVTech Media Americas Inc., USA
All rights reserved

