Step By Step: How to Install a Front Projector Page 2
Step 4: Mount the Projector For our example, we need to find a ceiling stud located between 12.586 and 15.358 feet from the screen. Use a stud finder to locate an appropriate beam and then use two 3-inch-long 0.3125-inch lag bolts to affix the mount to the ceiling.
Step 5: Run the Cables Ideally, you bought your projector during new construction and ran the power and video cables to the mounting location before closing up the walls and ceiling. If you didn't, and if it's beyond your skills to now feed them through the walls and ceiling (see How to Run Wire Through a Wall), either have an installer do the job or use paintable strip molding to make the cable runs relatively unobtrusive.
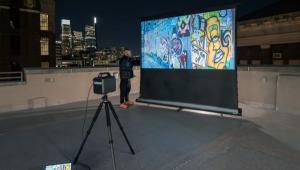
Step 6: Adjust the Image Make sure that the projector is level on the mount and then use the zoom and horizontal- and vertical-lens-shift controls to align the image. Finally, adjust the focus. If you've properly installed the projector, you shouldn't have to worry about keystoning (distortion that makes the top of the picture look narrower than the bottom, or vice versa). But if this is a problem, don't use the keystone control. This is typically a digital, not optical, adjustment and will severely degrade the image. If your projector doesn't have a vertical lens shift, address this problem by adjusting the height of the screen or the projector.
Step 7: Calibrate the Image Use a calibration DVD to adjust brightness, contrast, and color (see How to Calibrate Your HDTV). Many projectors are fairly close to calibration standards right out of the box. But for optimum performance, have an ISF-certified calibrator fine-tune your projector.
- Log in or register to post comments


