- REVIEWS
Displays Electronics 
Speakers Sources Other Gear Software - HOW TO
How To Buy How To Use Tech 101
DIY Reader Home Theater: Something From Nothing

The process of building the DJ Theater began in 1995, the year when Dolby Digital was made available to the public in various receivers. Prior to this time, hobbyists like me had no need for a dedicated theater room due to the simple system requirements of Dolby Pro Logic. With the emergence of Dolby Digital, a dedicated room seemed appropriate. The only question that now remained was: How does a person build a theater room to accommodate unknown future needs at a reasonable cost?
Planning for the Future
My background as an electrical engineer has made me a meticulous planner and calculator. This background—and a need to collect A/V equipment—led me to build the DJ Theater. I began with an empty basement area with rough dimensions of 30 feet by 30 feet. In this space, I had plans for an additional restroom and a separate recreation area. Gathering information from magazines such as Audio Video Interiors, Home Theater, and Stereophile Guide to Home Theater, I designed a space that met my requirements while taking into consideration appropriate dimensions, materials, electrical wiring, lighting, and air-conditioning needs.
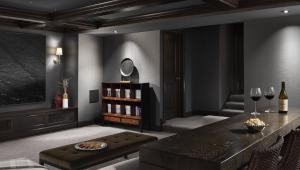
Choosing the right space can make theater design and construction much simpler. The use of basement space allows for complete control of ambient lighting, simplified sound control, and utilization of more unconventional materials and colors for the room. The materials and colors people typically choose for a home theater would not necessarily be appropriate for a normal living space. For example, how many readers would choose to apply burgundy paint to their living-room walls?
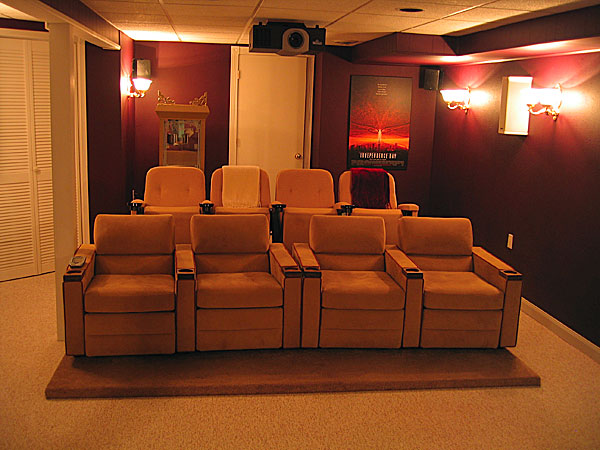
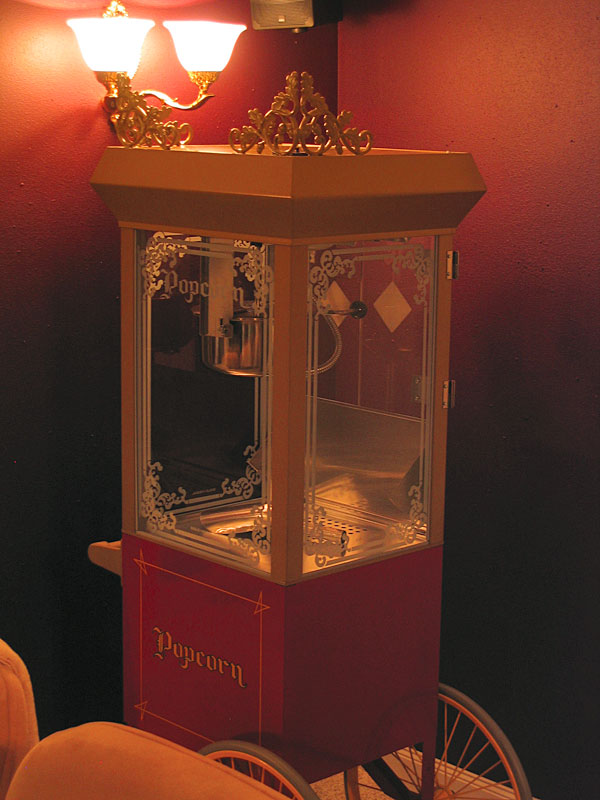
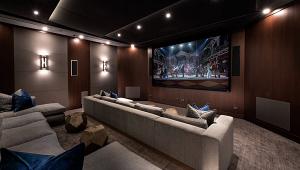
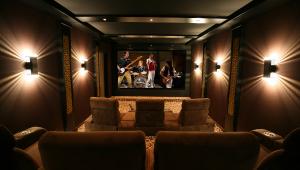
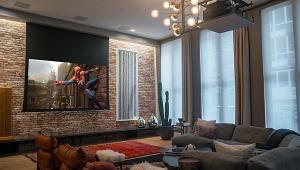
Prior to construction, I used early spreadsheet tools to identify excessive room audio nodes for sample room sizes. I decided upon rough room dimensions of 15 feet wide by 26 feet long for the theater space. These dimensions were large enough to accommodate two rows of theater seats and permit placement of an antique popcorn popper in the back corner. Sizing up the front wall, I would be able to install any front-projection screen up to 95 inches wide (110 inches diagonal). I thought this would be large enough for any future needs. The ceiling height (7 feet, 4 inches) was high enough to allow for mounting a front projector, but guests over 6 feet tall would need to watch for low-flying projectors. Finally, I reviewed the A/V-equipment, shelving, and wiring needs. Choosing the A/V equipment can be the hardest part of the process, but, if you assess your needs and budget, equipment selection seems to fall into place.
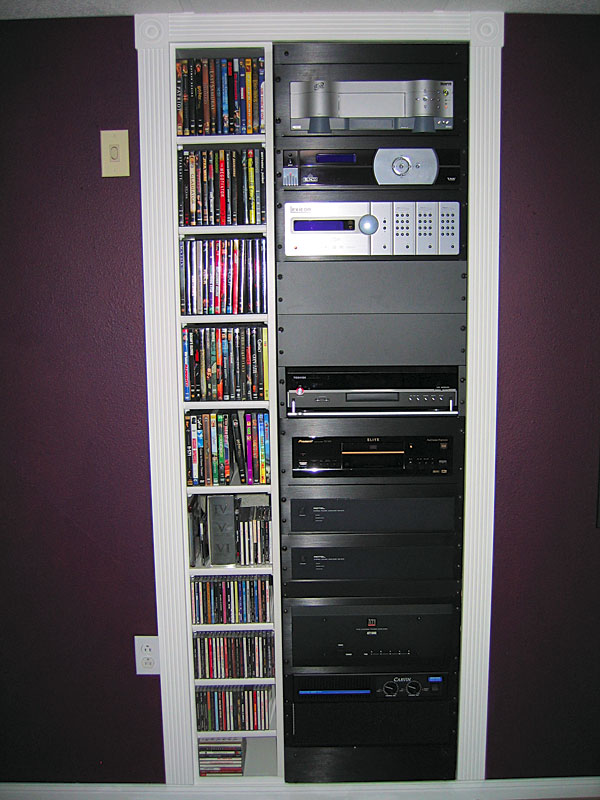
I completed the construction of the theater shell, the restroom area, and the recreation area during the winter weekends of 1995. I used steel two-by-four studs insulated with fiberglass beneath two layers of drywall on the theater side (0.5 and 0.375 inches) for the wall construction. I dedicated seven circuit breakers to the theater and the associated equipment. I designated two breakers for the A/V equipment and another two breakers for lighting—two for the wall outlets and one additional outlet for the overhead projector. A simple shelving arrangement with access to the back of the A/V area accommodates the A/V equipment and wiring. A built-in shelving unit 30 inches wide by 40 inches tall houses the A/V equipment. Access to the back of the equipment is available through a storage door, but even this setup had its drawbacks. I've had enough experience with conventional shelving and "spaghetti" wiring to last a lifetime! It was easy to achieve ambient lighting control since there aren't any windows in the basement theater area. To control the sound/noise, I used acoustic ceiling tiles, heavy velour drapery, and bass traps located in two corners. I located and installed the bass traps using my own highly scientific analysis—that is, trial and error.
It's All in the Details
I've learned through experience that all mistakes are not created equal. After all, a great deal of this hobby is trial and error. I've made many small changes and modifications in the room as the DJ Theater has evolved over the past dozen years. One example is the grid ceiling with acoustic tiles. This ceiling has made future upgrades convenient, but, as I have learned, ceiling-grid systems can also generate new and unwelcome sounds when I audition new movie material.
Another example of progress is the color palette for the theater. Room colors have evolved over time and are now better suited for use in this dedicated theater room. Darker room colors have greatly improved the onscreen contrast by reducing the amount of reflected light in the theater. My first color scheme involved neutral colors, which reduced the perceived contrast and created excessive ambient reflections. The new darker colors also coordinate with the newer theater motif—art deco. A compromise is inevitable when you choose room colors both to serve decorative purposes and to provide video accuracy.
Manufacturers originally designed bass transducers, such as the Clark Synthesis or ButtKicker units, for installation into couches or theater seating. I found that they produce a more lifelike response when installed in the seating risers. The bass response is more natural since the entire seating structure and floor vibrate uniformly.
The Theater Today
The theater shell has changed little over the past decade. However, the A/V equipment continues to change due to newer and improved technologies. Programmable remote-control devices have changed the landscape for most home theater hobbyists. I use a programmed, customized Philips ProntoPro remote. Home theater is definitely a hobby for the technically inclined. Macros on remotes such as the ProntoPro allow all family members to use one remote for control of all the A/V equipment and the lighting.
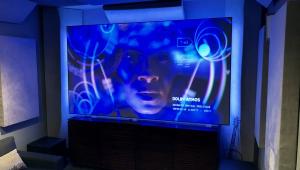
My first theater projector was a 4:4 Sharp LCD model with a resolution of 640 by 480. As bad as these first projectors looked, I was excited to be able to afford a projector and motorized screen for much less than the megabucks CRT units of the time. I eventually upgraded to a CRT projector when these models became more affordable around 1998. I was a big fan of CRT projectors for a period of about five years when I used the Runco DTV-852. The projector was a source of great enjoyment, except when it needed calibration. I was eventually sold on a newer digital projector with DLP technology. The first versions of these projectors provided bright, sharp pictures, but they lacked the silky black levels that I was used to from watching my CRT projector. The Runco VX-1000Ci was a third-generation DLP unit and one of the first DLP projectors to provide a decent black level. I chose to stay with Runco due to the excellent customer service and picture performance.

I have recently installed a Middle Atlantic rack. Installation of the rack components is fairly straightforward. However, if carpentry and millwork are not your strong areas, I recommend getting assistance. Nothing looks better than a properly installed rack system with uniform millwork clearances. My Middle Atlantic A/V-rack installation has provided improved wiring and cooling, not to mention the organizational beauty of the rack and custom faceplates. The rotating rack now offers the access necessary for easy upgrades and allows for unprecedented access to wiring and connections. Just remember to measure the faceplates twice before you order them.
The most recent addition to my theater has been an HD DVD player. The Toshiba HD-XA1 provides the best HD video my family and friends have seen. Broadcast HD and satellite is nice, but HD DVD goes one step further in revealing the capability of my digital projector. I have found a reason to watch older movies in this new format. . .just what the movie houses want.
The Hobby That Keeps Giving
Friends and family ask if I will stop upgrading, making changes, or improving upon the capabilities of the DJ Theater. I tell them that this is a hobby, and, like any hobby, it evolves and changes as new technologies and formats become available. The technological changes in home theater require ongoing research and critical thinking in order to make value-added decisions. These unique qualities of the home theater hobby have led to personal growth, improved quality of life, and enhanced home equity. Besides, is there another hobby that also allows me to share my experience with family and friends?
Equipment List:
Lexicon MC-12 Ver. 3.11 Video Processor
Runco ViVix PFP Video Processor
Runco VX-1000Ci DLP Projector
Da-Lite 106-Inch Tensioned Motorized Electrol Screen
DISH Network 921 HD Satellite Receiver
Pioneer Elite DV-38A DVD Player
Toshiba HD-XA1 HD DVD Player
ATI 1505 Amplifier
Rotel RB-980 Amplifier
Carvin Amplifier
Definitive Technology Dual Subwoofers
ButtKicker Tactile Transducer with Carvin Amplifier
Clark Synthesis Bass Transducer
Definitive Technology BP2000 Speaker System
Definitive Technology BPX Surround Speakers
ADS Mini Monitors
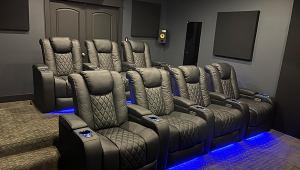
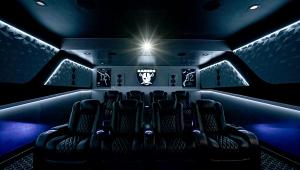
TDA DreamLounger Seating
Irwin Ambassador Seating
Middle Atlantic AX-SXR Rotating Rack
Canare Custom Cabling with A/V Connectors
Wholehouse System:
On-Q Cabinet
ChannelPlus Two-Channel A/V Digital Modulation System
ChannelPlus Antenna Control System (Terrestrial DTV )
A-Bus Four-Room Audio System
IT XT40 Surge Suppression
Toroidal Balanced Transformer BT 1500
Original Budget (1995)
Room: $3,500
Equipment: $6,600
Equipment Budget (2006)
Room changes including new A/V rack: $2,600
Rough Value of Existing Equipment $57,000
- Log in or register to post comments


| Displays Electronics Speakers | Sources Other Gear Software | Top Picks of the Year Top Picks | Custom Install How To Buy How To Use |
Tech 101
|
Latest News Features Blogs | Resources Subscriptions |
WHERE TECHNOLOGY BECOMES ENTERTAINMENT
 © 2024 Sound&Vision
AVTech Media Americas Inc., USA
All rights reserved

