- REVIEWS
Displays Electronics 
Speakers Sources Other Gear Software - HOW TO
How To Buy How To Use Tech 101
Step By Step: How to Program a Universal Remote Page 2
Option 3: Head-to-Head Learning This can be tedious because you have to do it one button at a time, and you have to have your original remote on hand. You literally shoot the command into the new remote, which then memorizes it. For best results, hold the remotes two to four inches apart and send the command for about one second. To avoid IR interference, do it on a flat surface, away from plasma or LCD displays and sunny rooms. Level of difficulty: 4
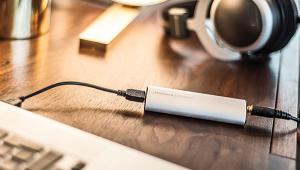
Option 4: Computer Programming It's easier to label keys, customize buttons, and set up macros when you use a PC. Even remotes that don't require computer programming, like the Philips Pronto, can benefit from it. Others - like all the Harmony models - can't be programmed without a PC. Install the software that came with the remote, then connect the remote to your PC using the included USB or serial cable. Windows-syle pull-down tabs and a Help menu usually walk you through the programming. Level of difficulty: 5 to 9
Option 5: Professional Programming You won't be able to program the highest-level remotes because they require software or hardware available only to dealers, and the programming language can take hours - or days - to learn. Level of difficulty: 10+
STEP 3: TESTING When you're done programming, put your system through its paces. Do your components turn on and off the way they should? Do the TV and the digital surround receiver switch to the correct inputs? Did you remember to program buttons such as Aspect and Disc Skip and all your DVR functions? Note any problems and tweak the programming accordingly.
STEP 4: TRAINING After everything's programmed, show your family how to use the new remote. They'll marvel at your prowess - and they won't call you up in a rage when they can't figure out how to get their daily fix of Oprah or SpongeBob.
|
| |||||||||
- Log in or register to post comments


| Displays Electronics Speakers | Sources Other Gear Software | Top Picks of the Year Top Picks | Custom Install How To Buy How To Use |
Tech 101
|
Latest News Features Blogs | Resources Subscriptions |
WHERE TECHNOLOGY BECOMES ENTERTAINMENT
 © 2024 Sound&Vision
AVTech Media Americas Inc., USA
All rights reserved

